Download the DashboardFox installation and Upgrade files to your DashboardFox server to get started.
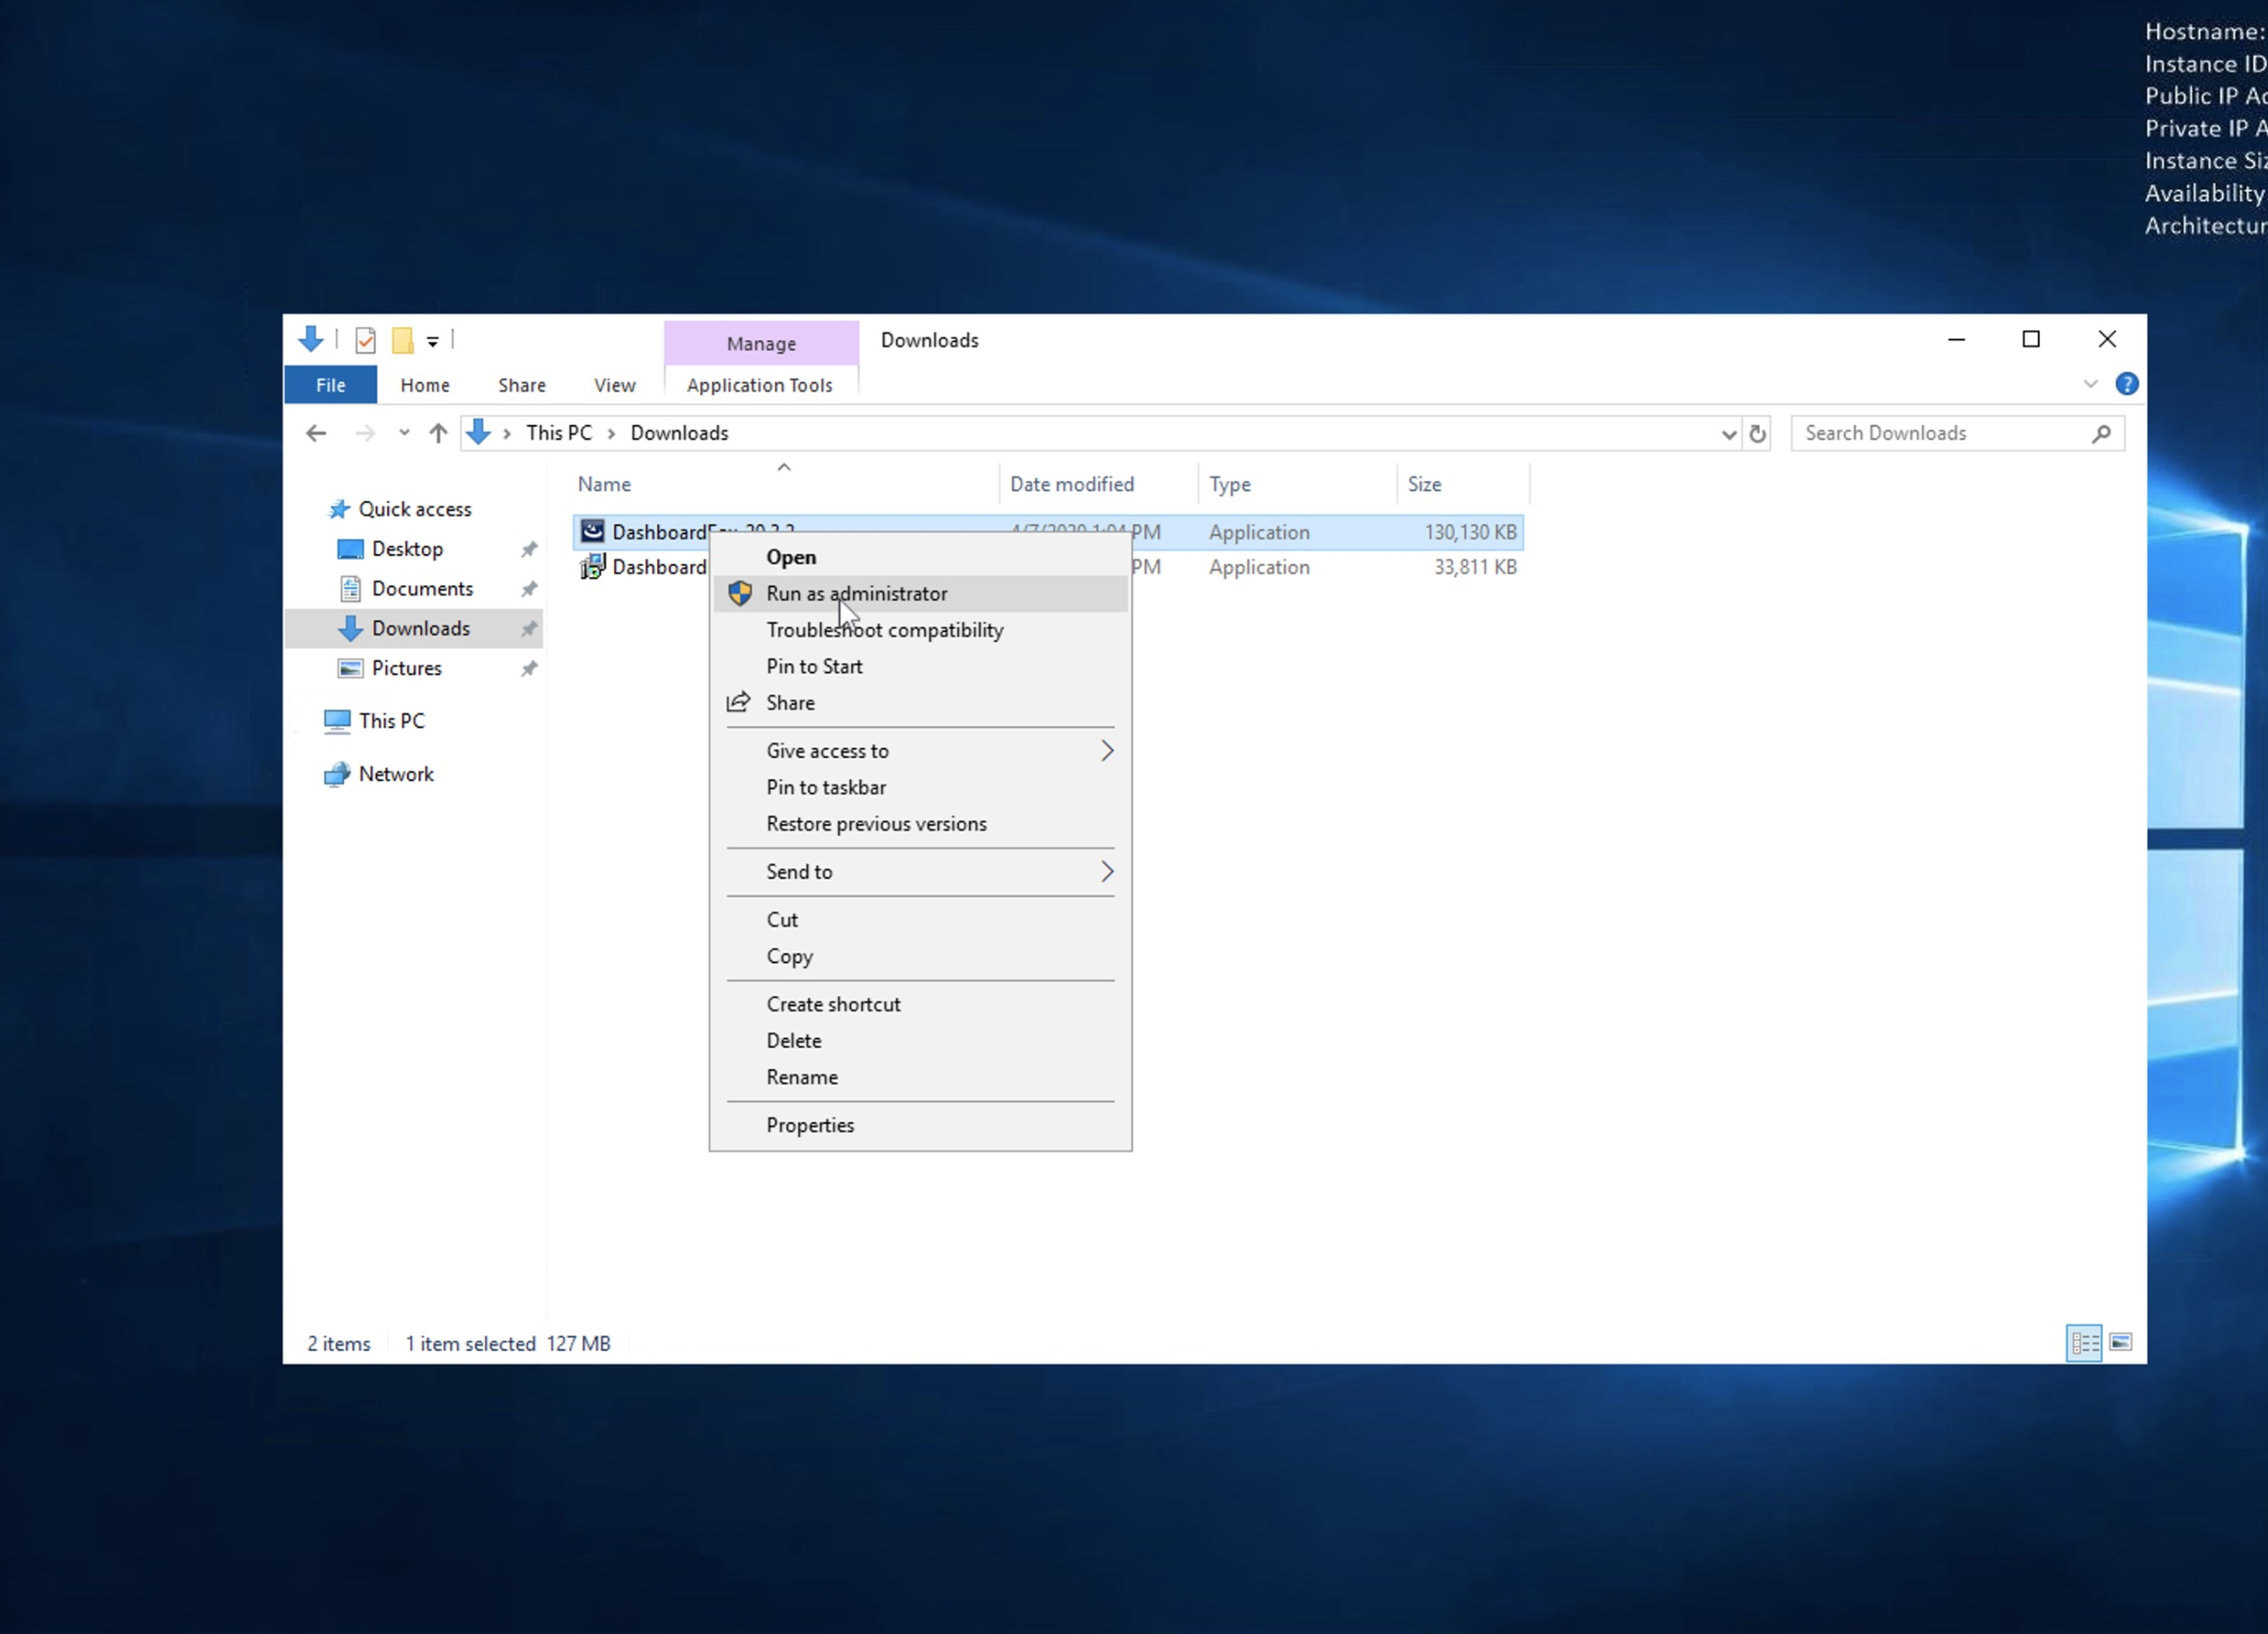
To being the installation, right click on the installation file and select Run as administrator
If the Windows Defender SmartScreen appear, click on More info and then select Run Anyway

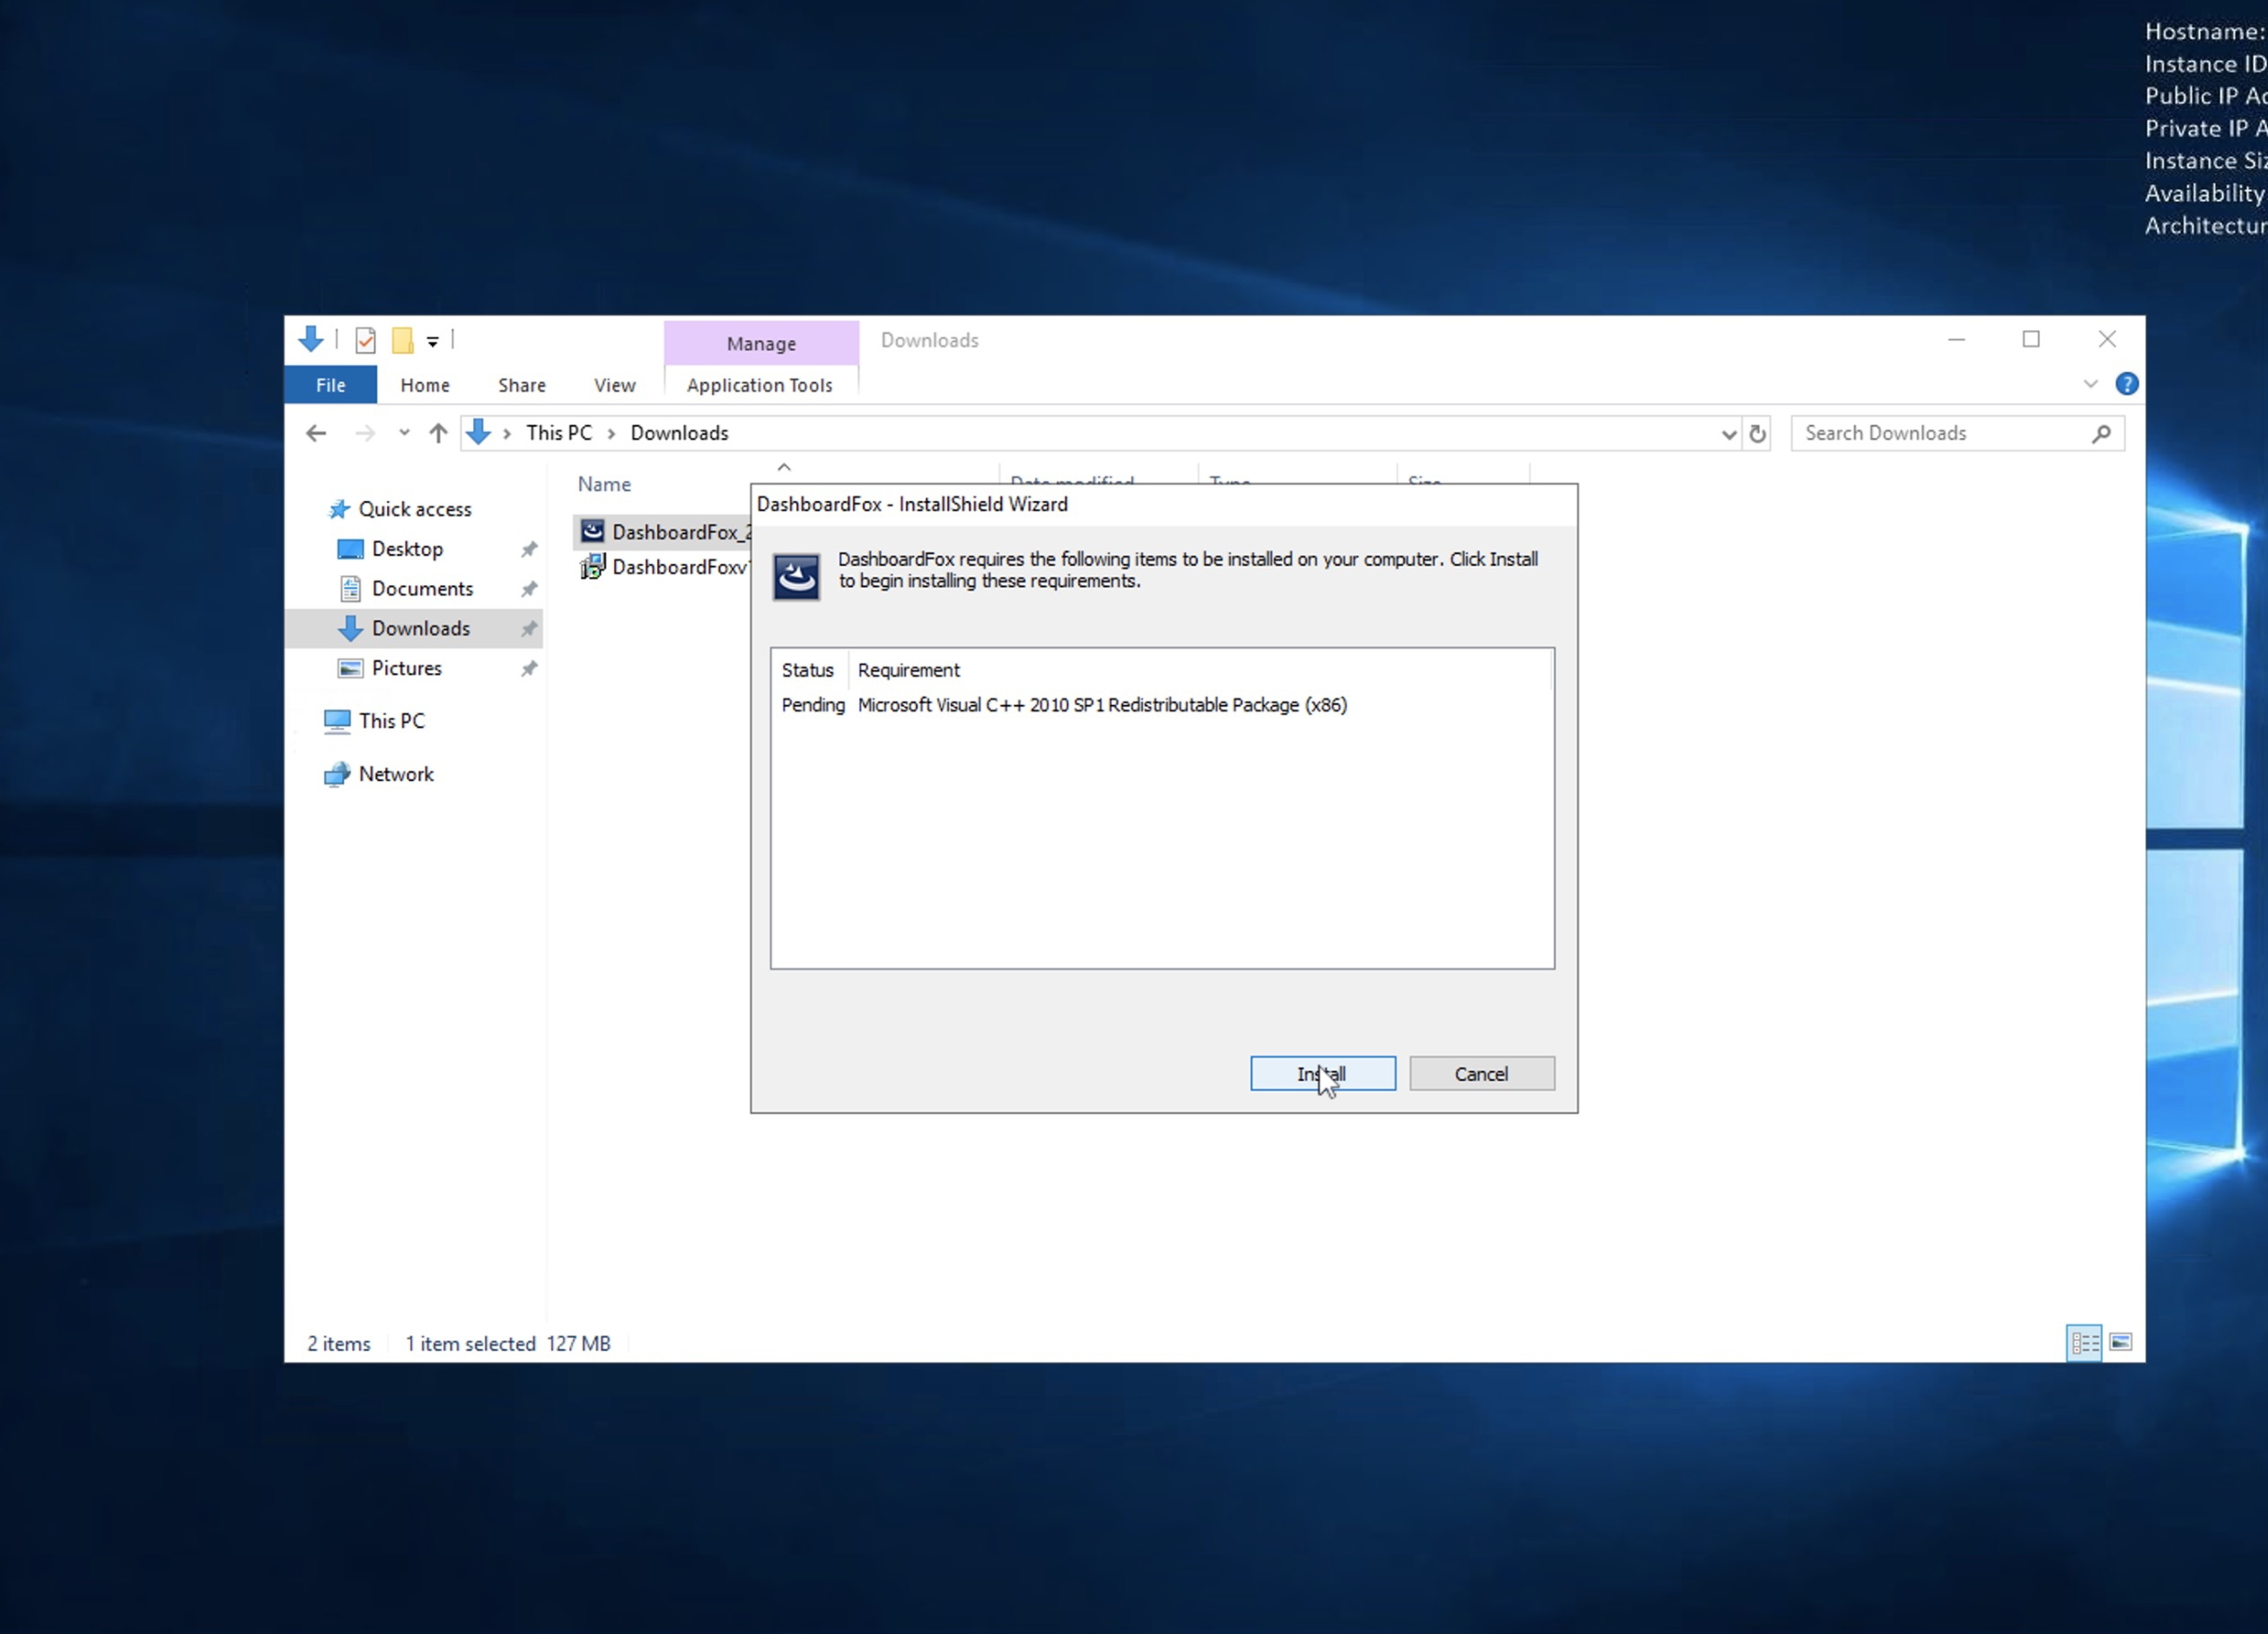
The DashboardFox - InstallShield Wizard will appear. You may have some pre-requisites that need to be installed before DashboardFox, if this screen appears, click Install
After that is complete, the main DashboardFox installation wizard will appear. There may be a 5-10 sec period where the InstallShield disappears between your pre-requisite installation and this screen. Click Next

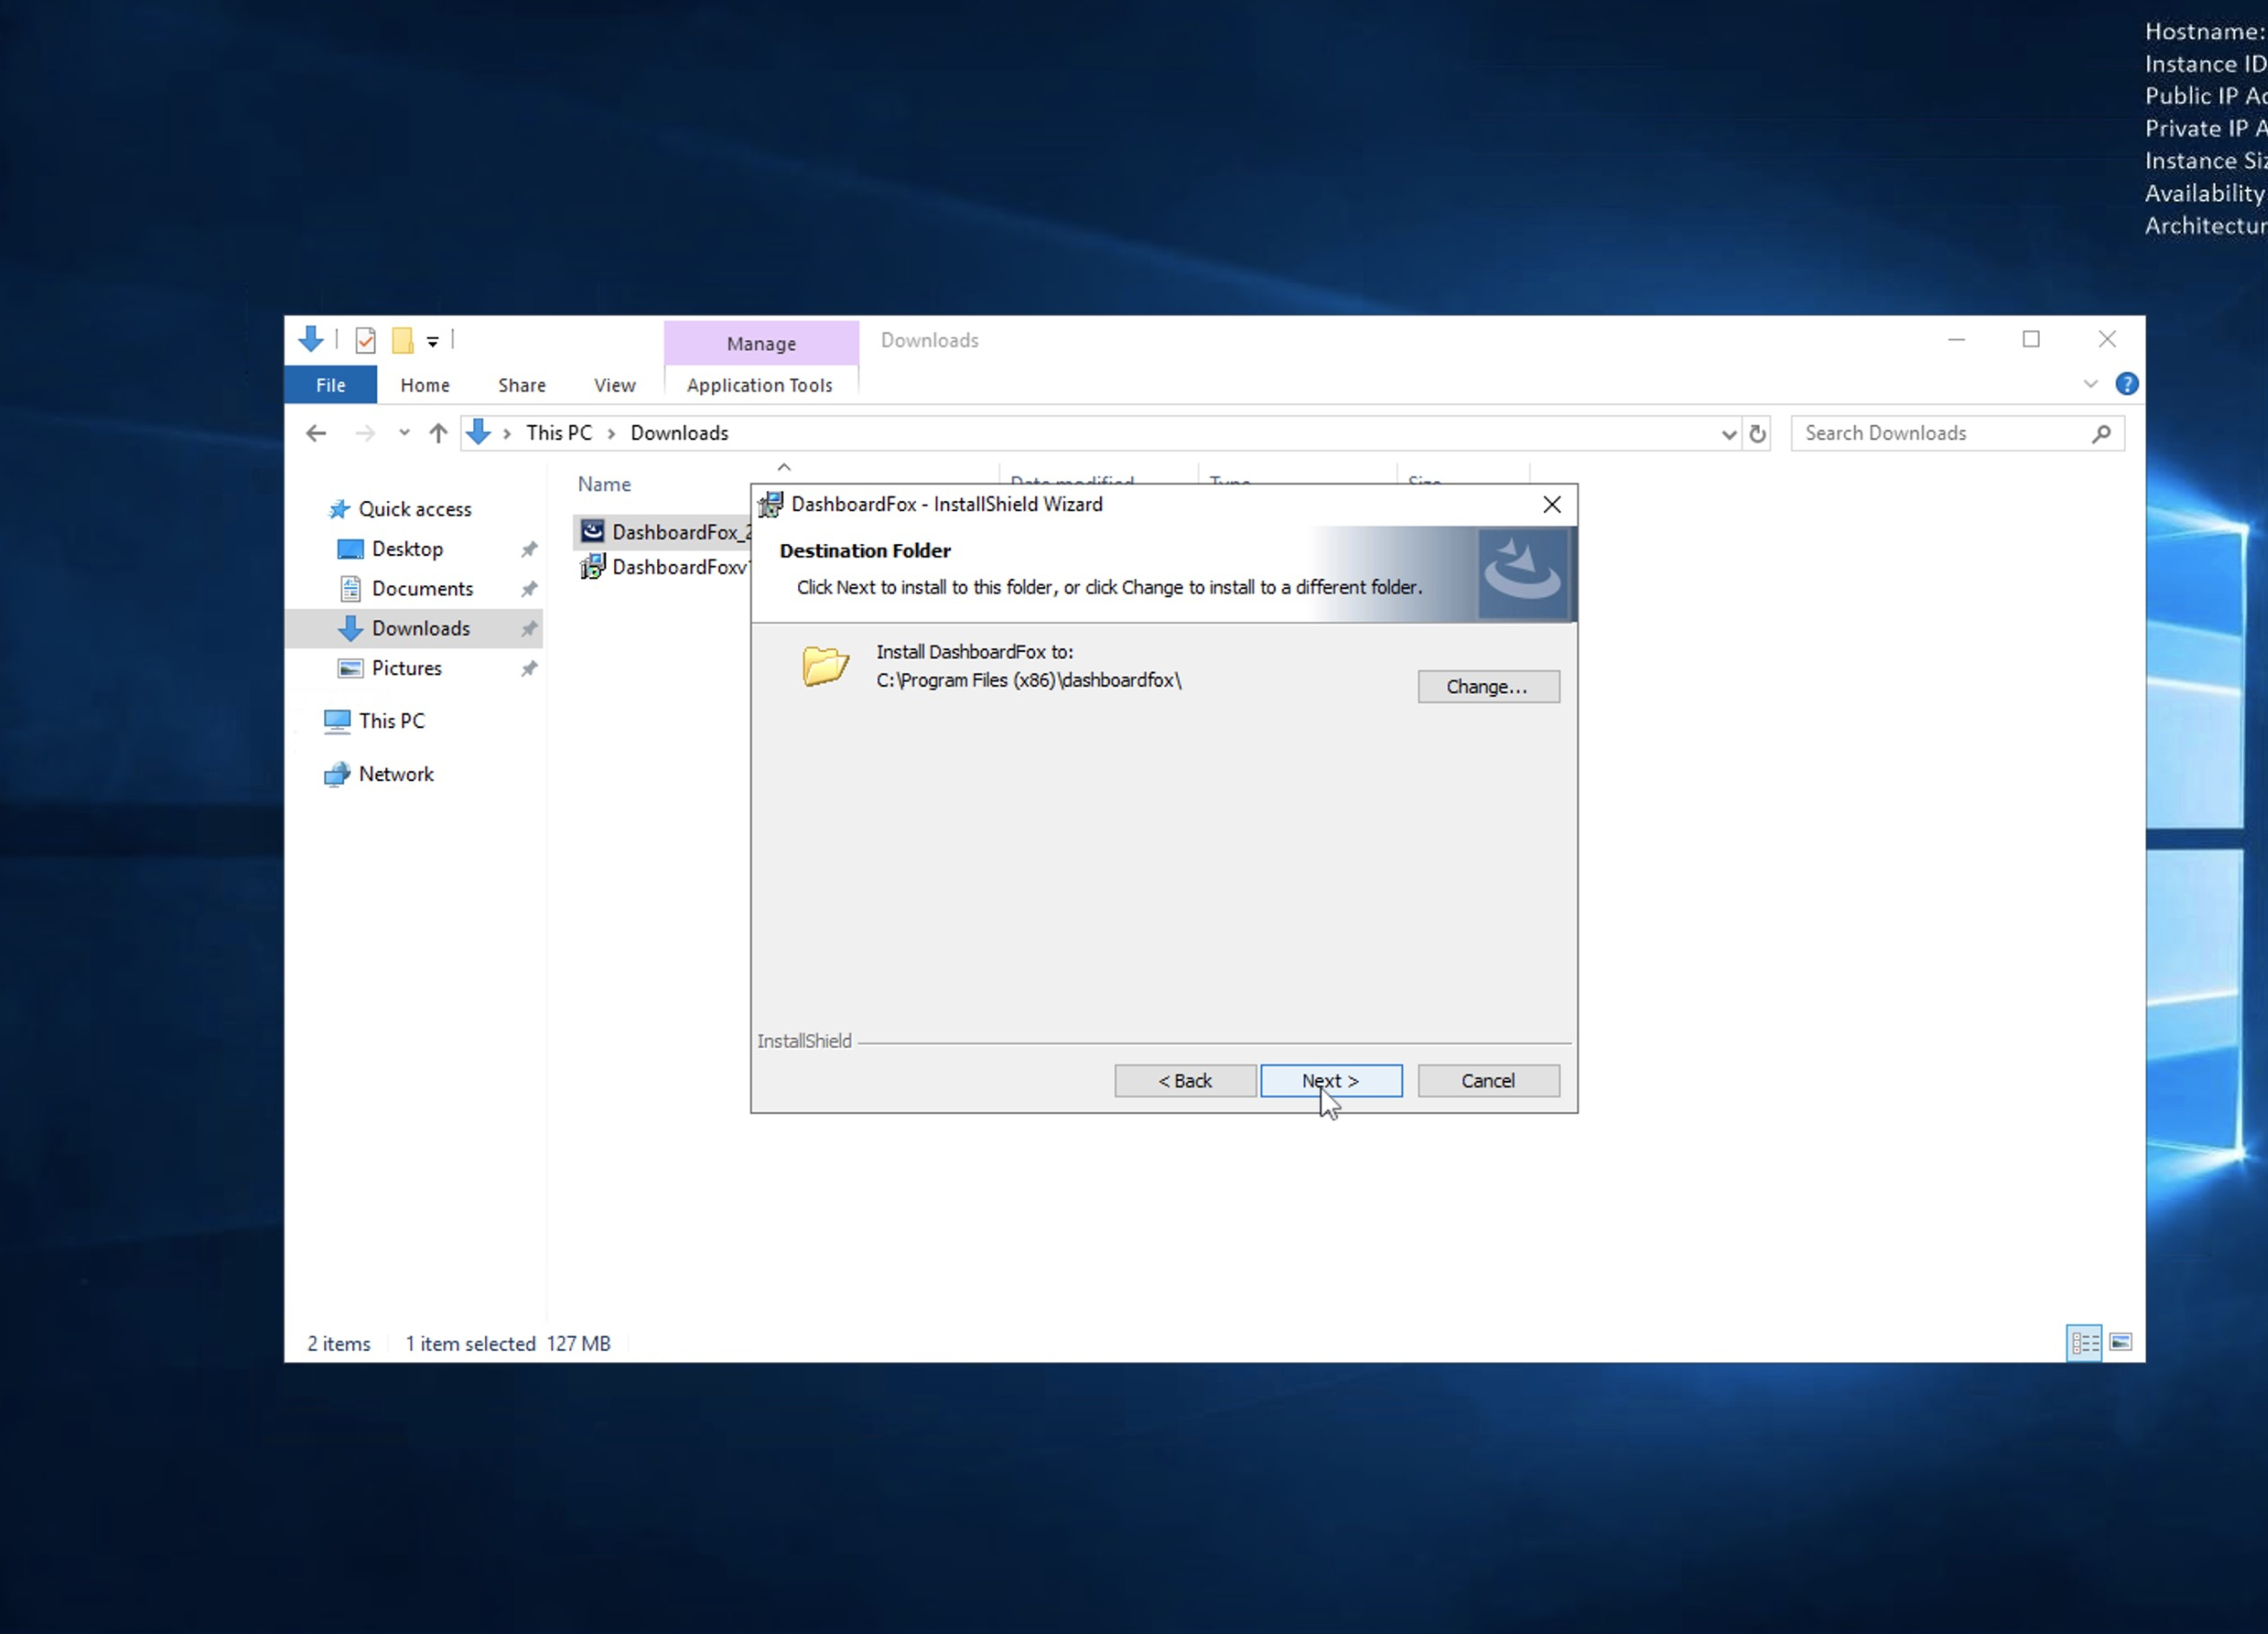
By default, Yurbi will install in the C:\Program Files (x86)\dashboardfox directory, you can change this here by selecting a new folder. Once the installation directory is set properly, click Next
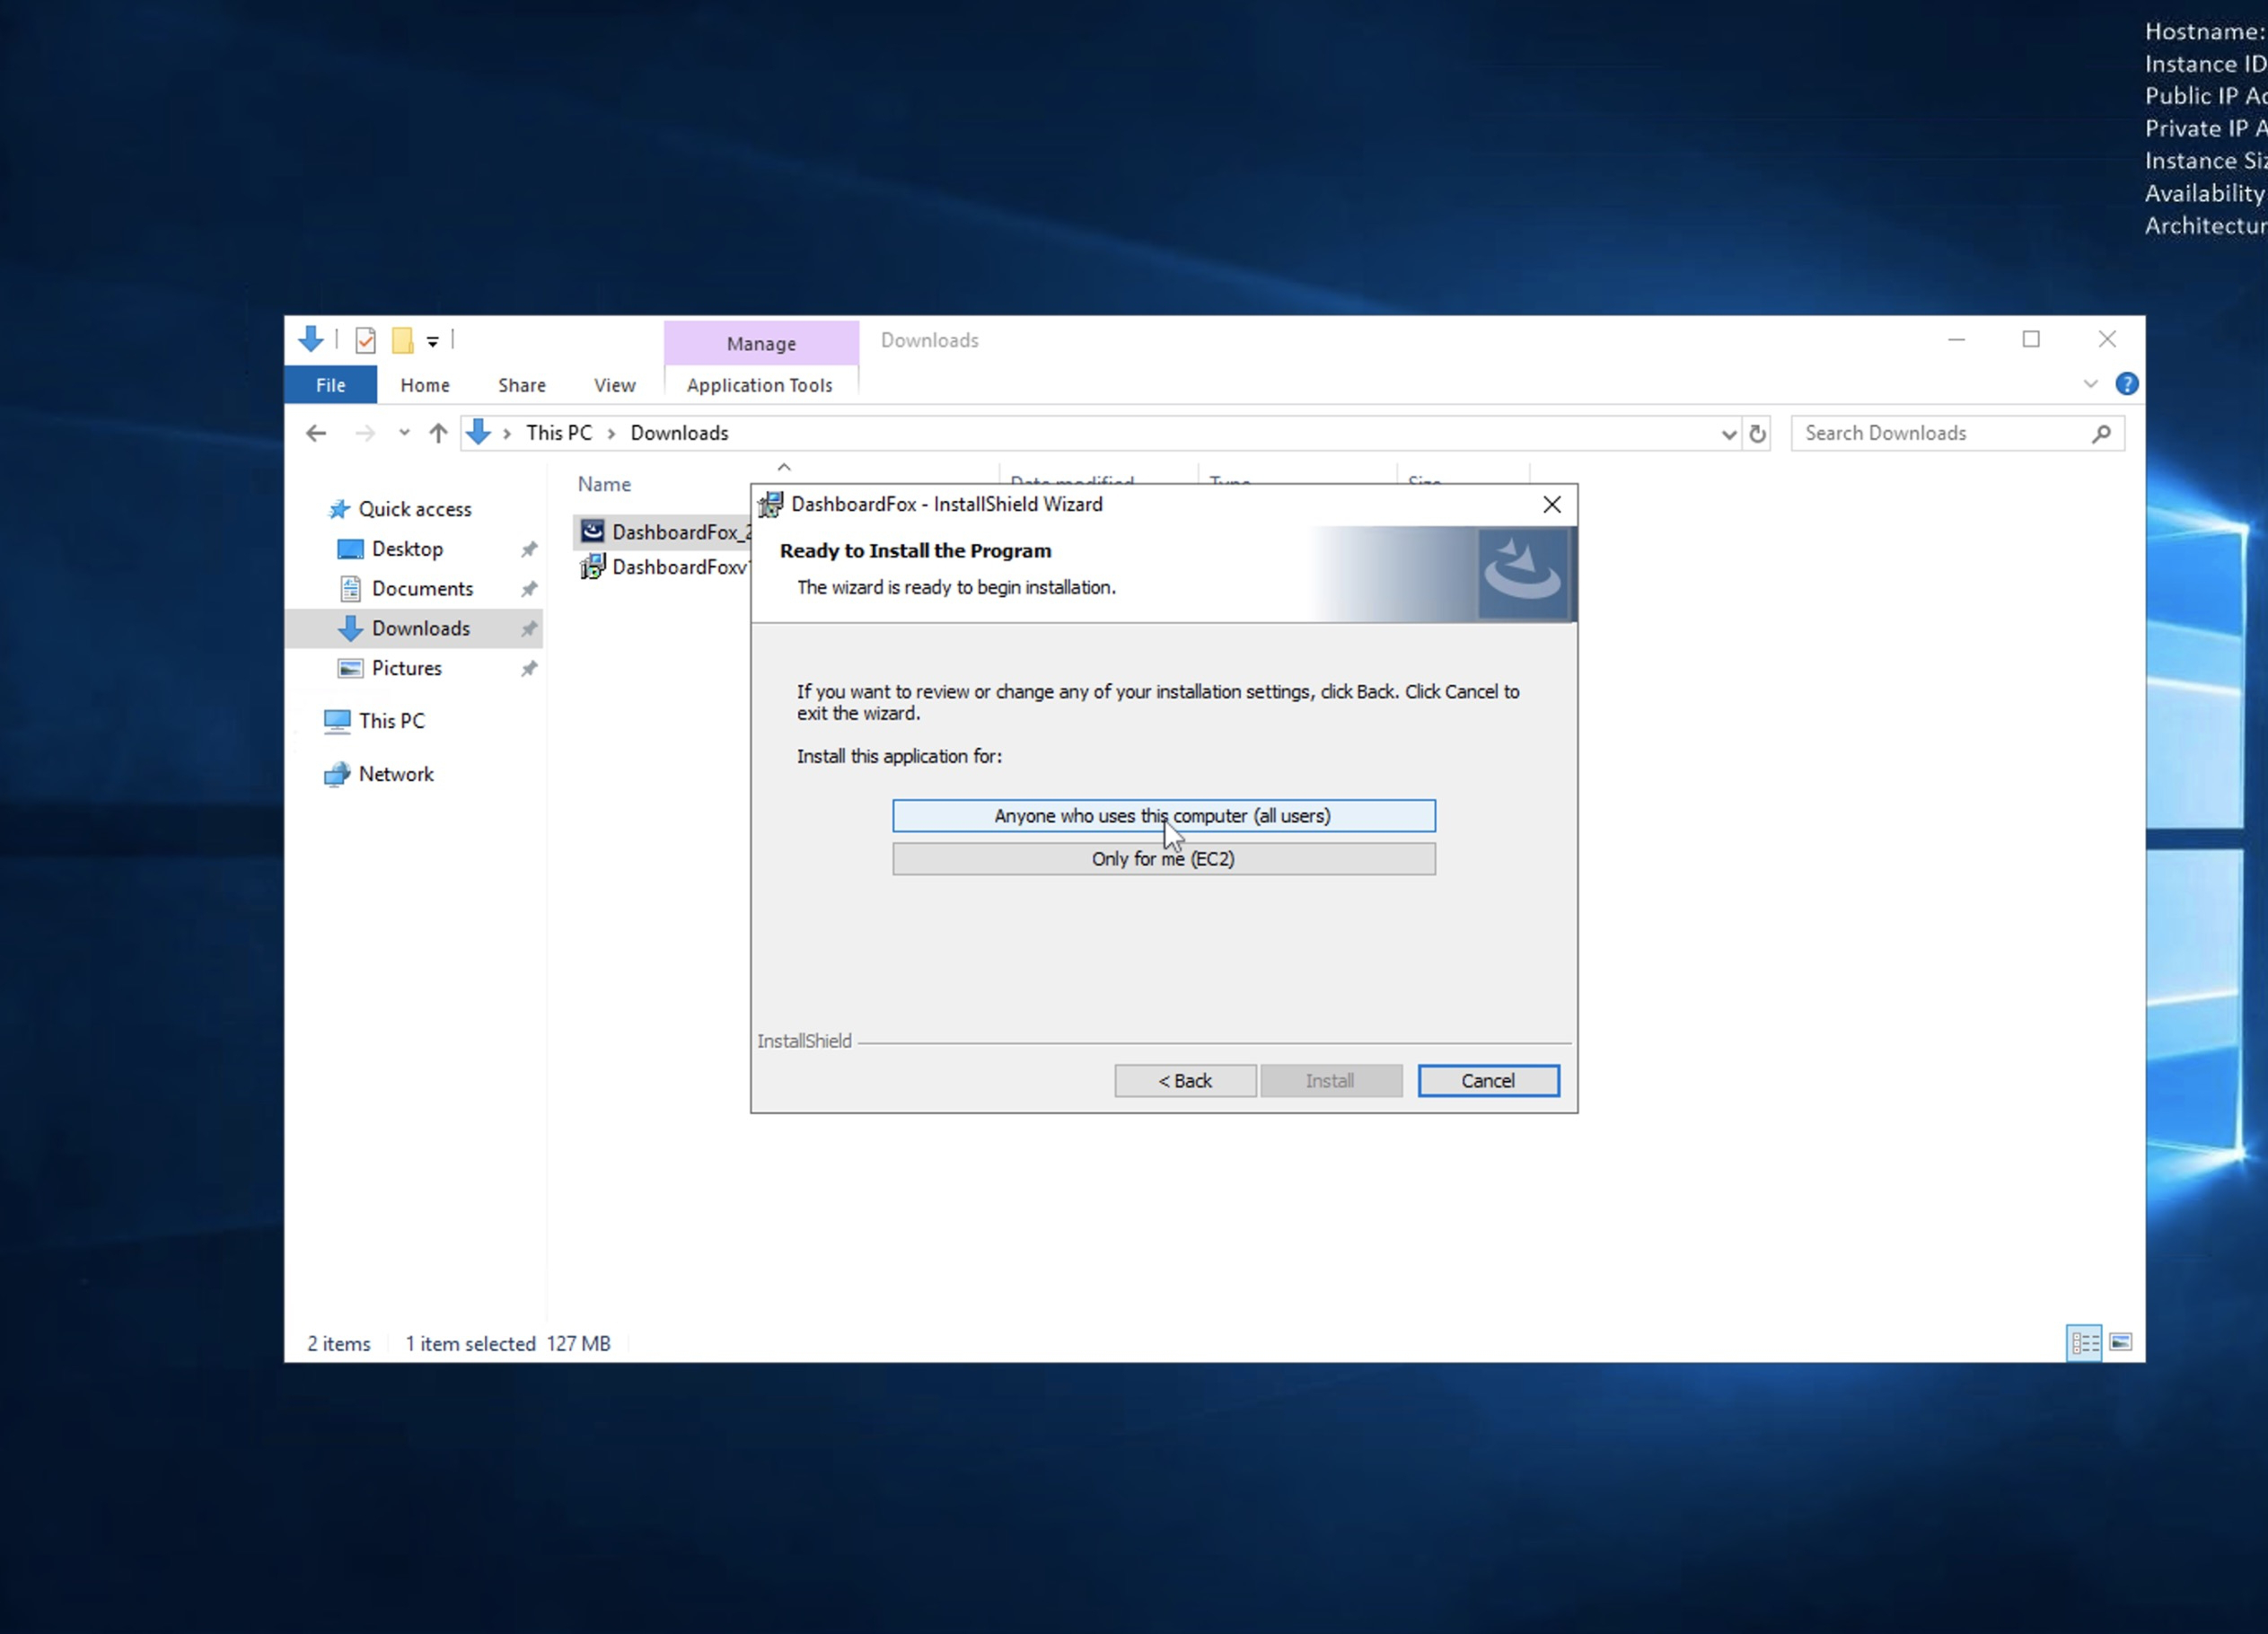
Installshield provides the option to install the DashboardFox program menus to all users of the company or only for the logged in user. In this example we are picking the Anyone who uses this computer option.
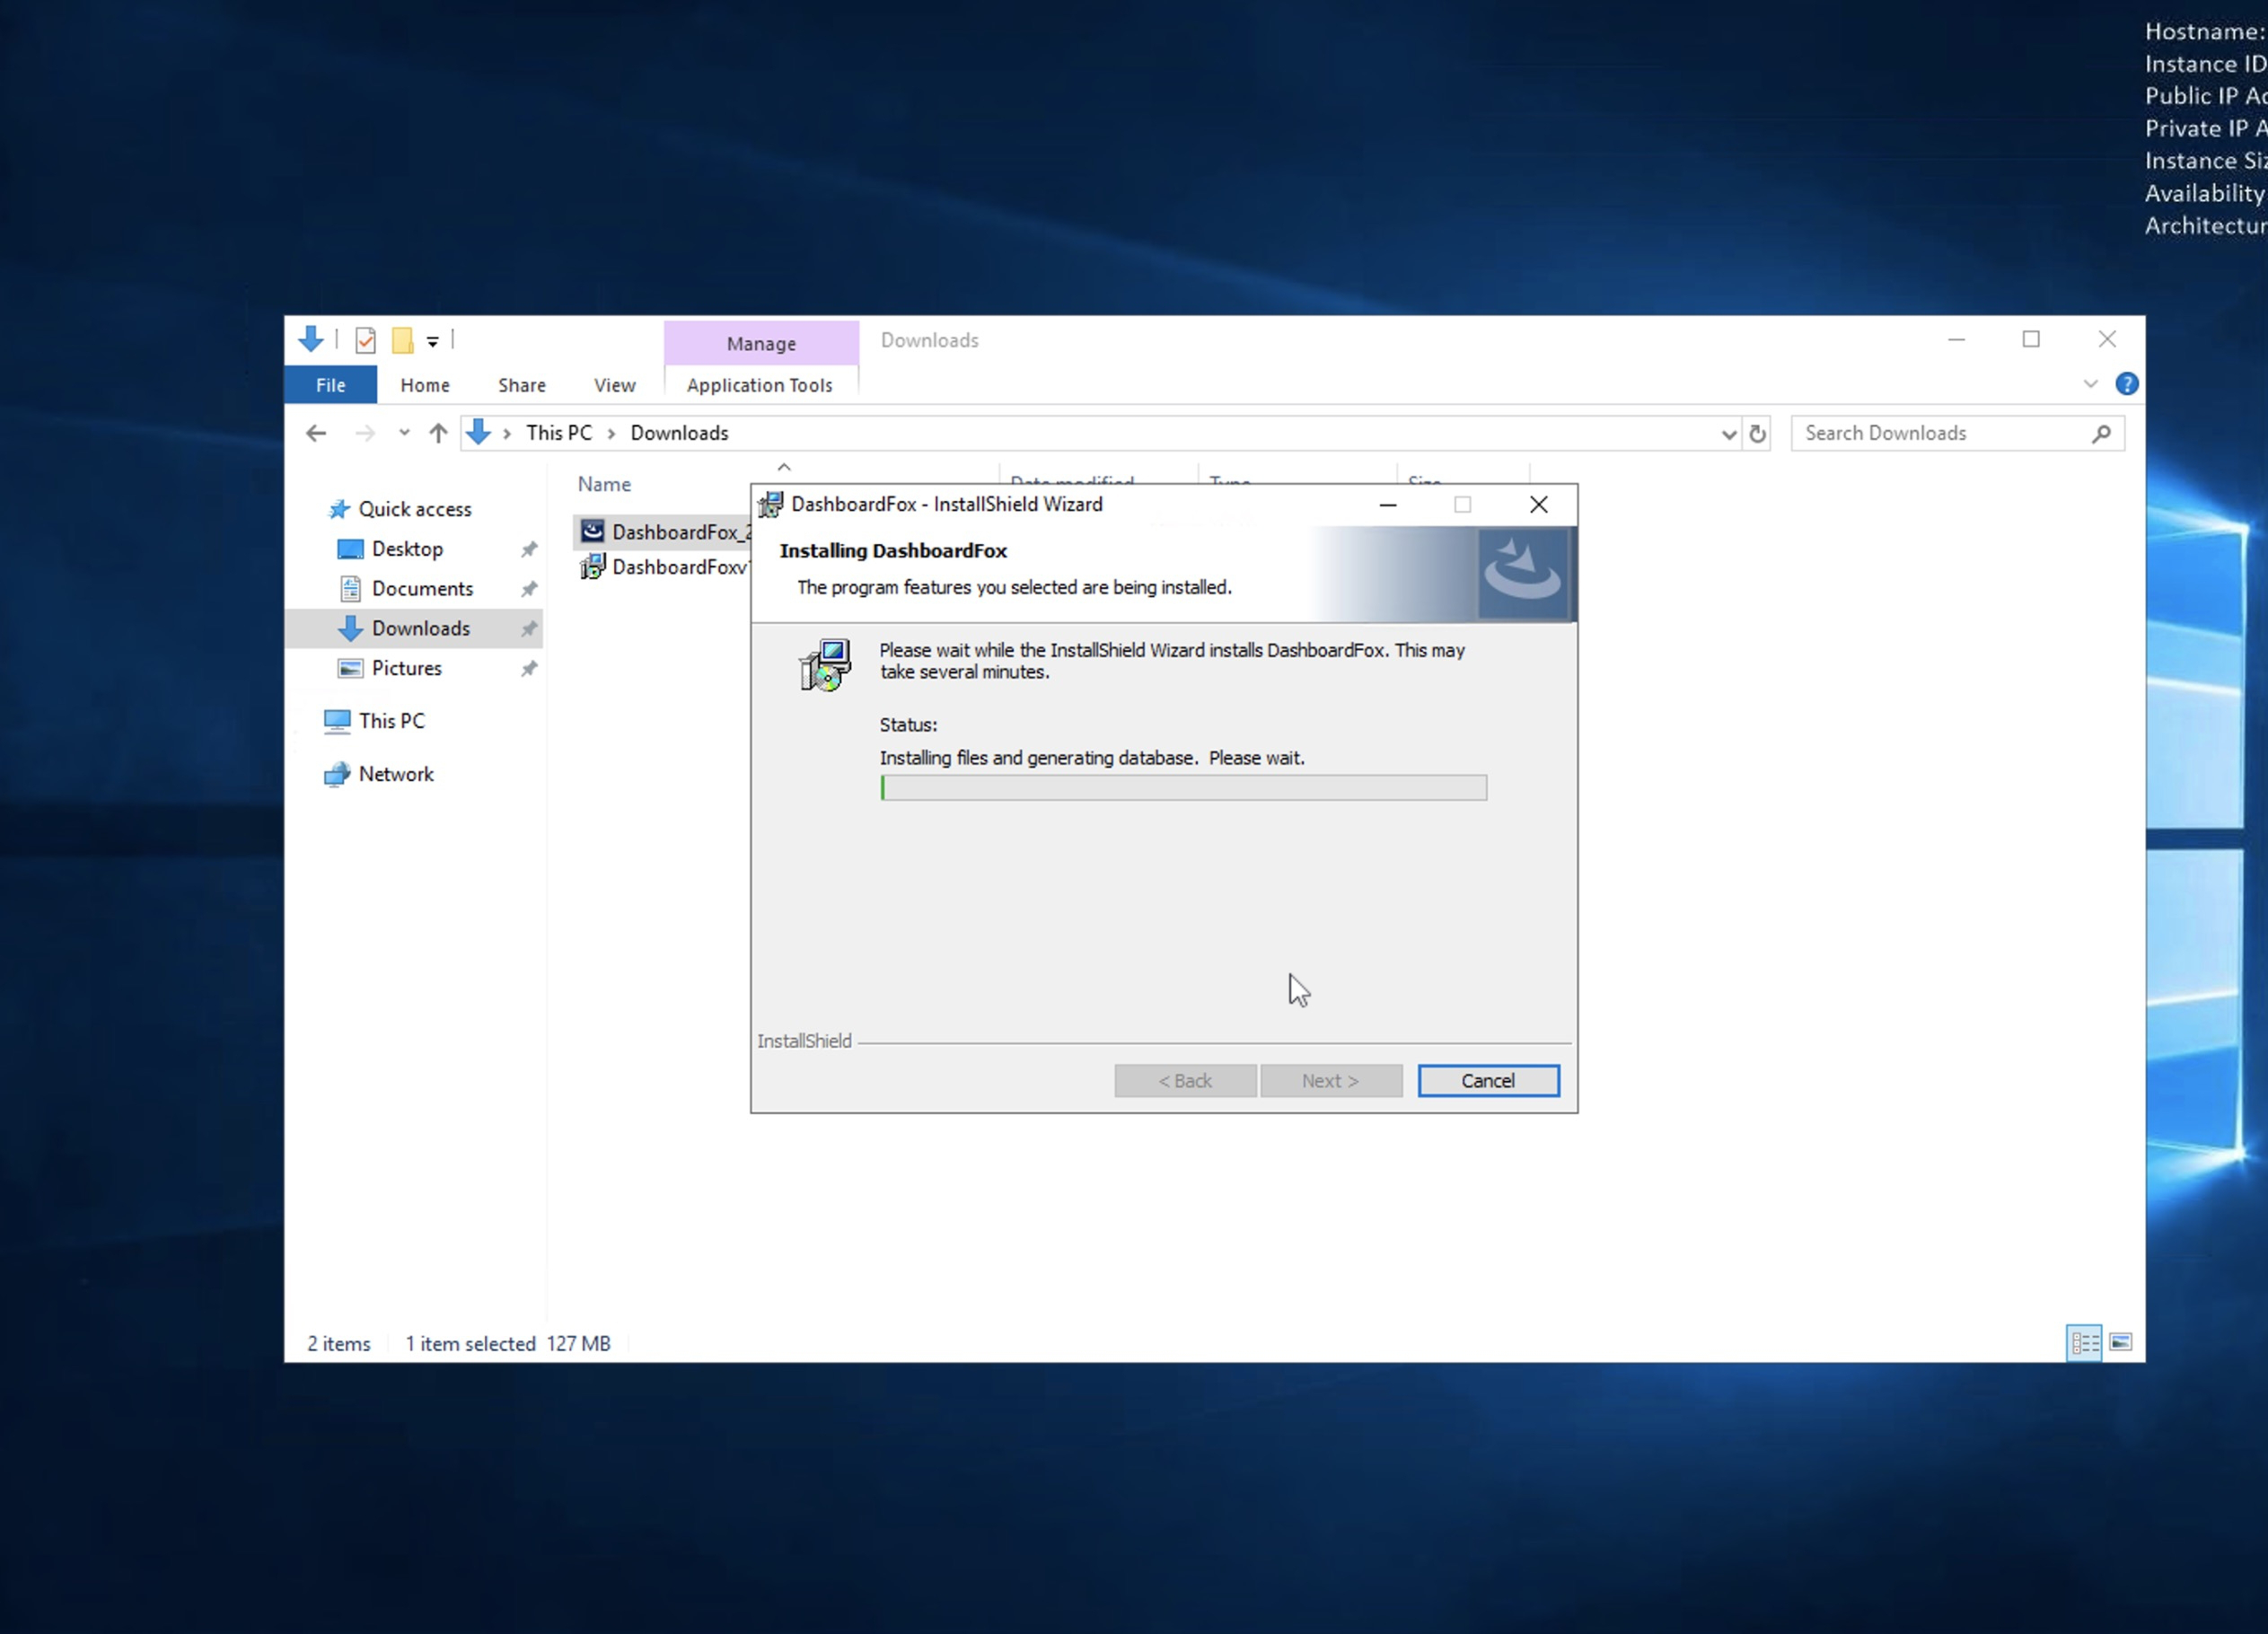
The installation of files has started.
This will be the longest part of the process. Behind the scenes, DashboardFox is checking to see if you have IIS installed and all the needed settings activated.
It is a slow process and the progress bar doesn't move. Depending on the speed of your server it can take 2-5 minutes.
The progress bar will not move for a while, but the installation is happening behind the scenes.
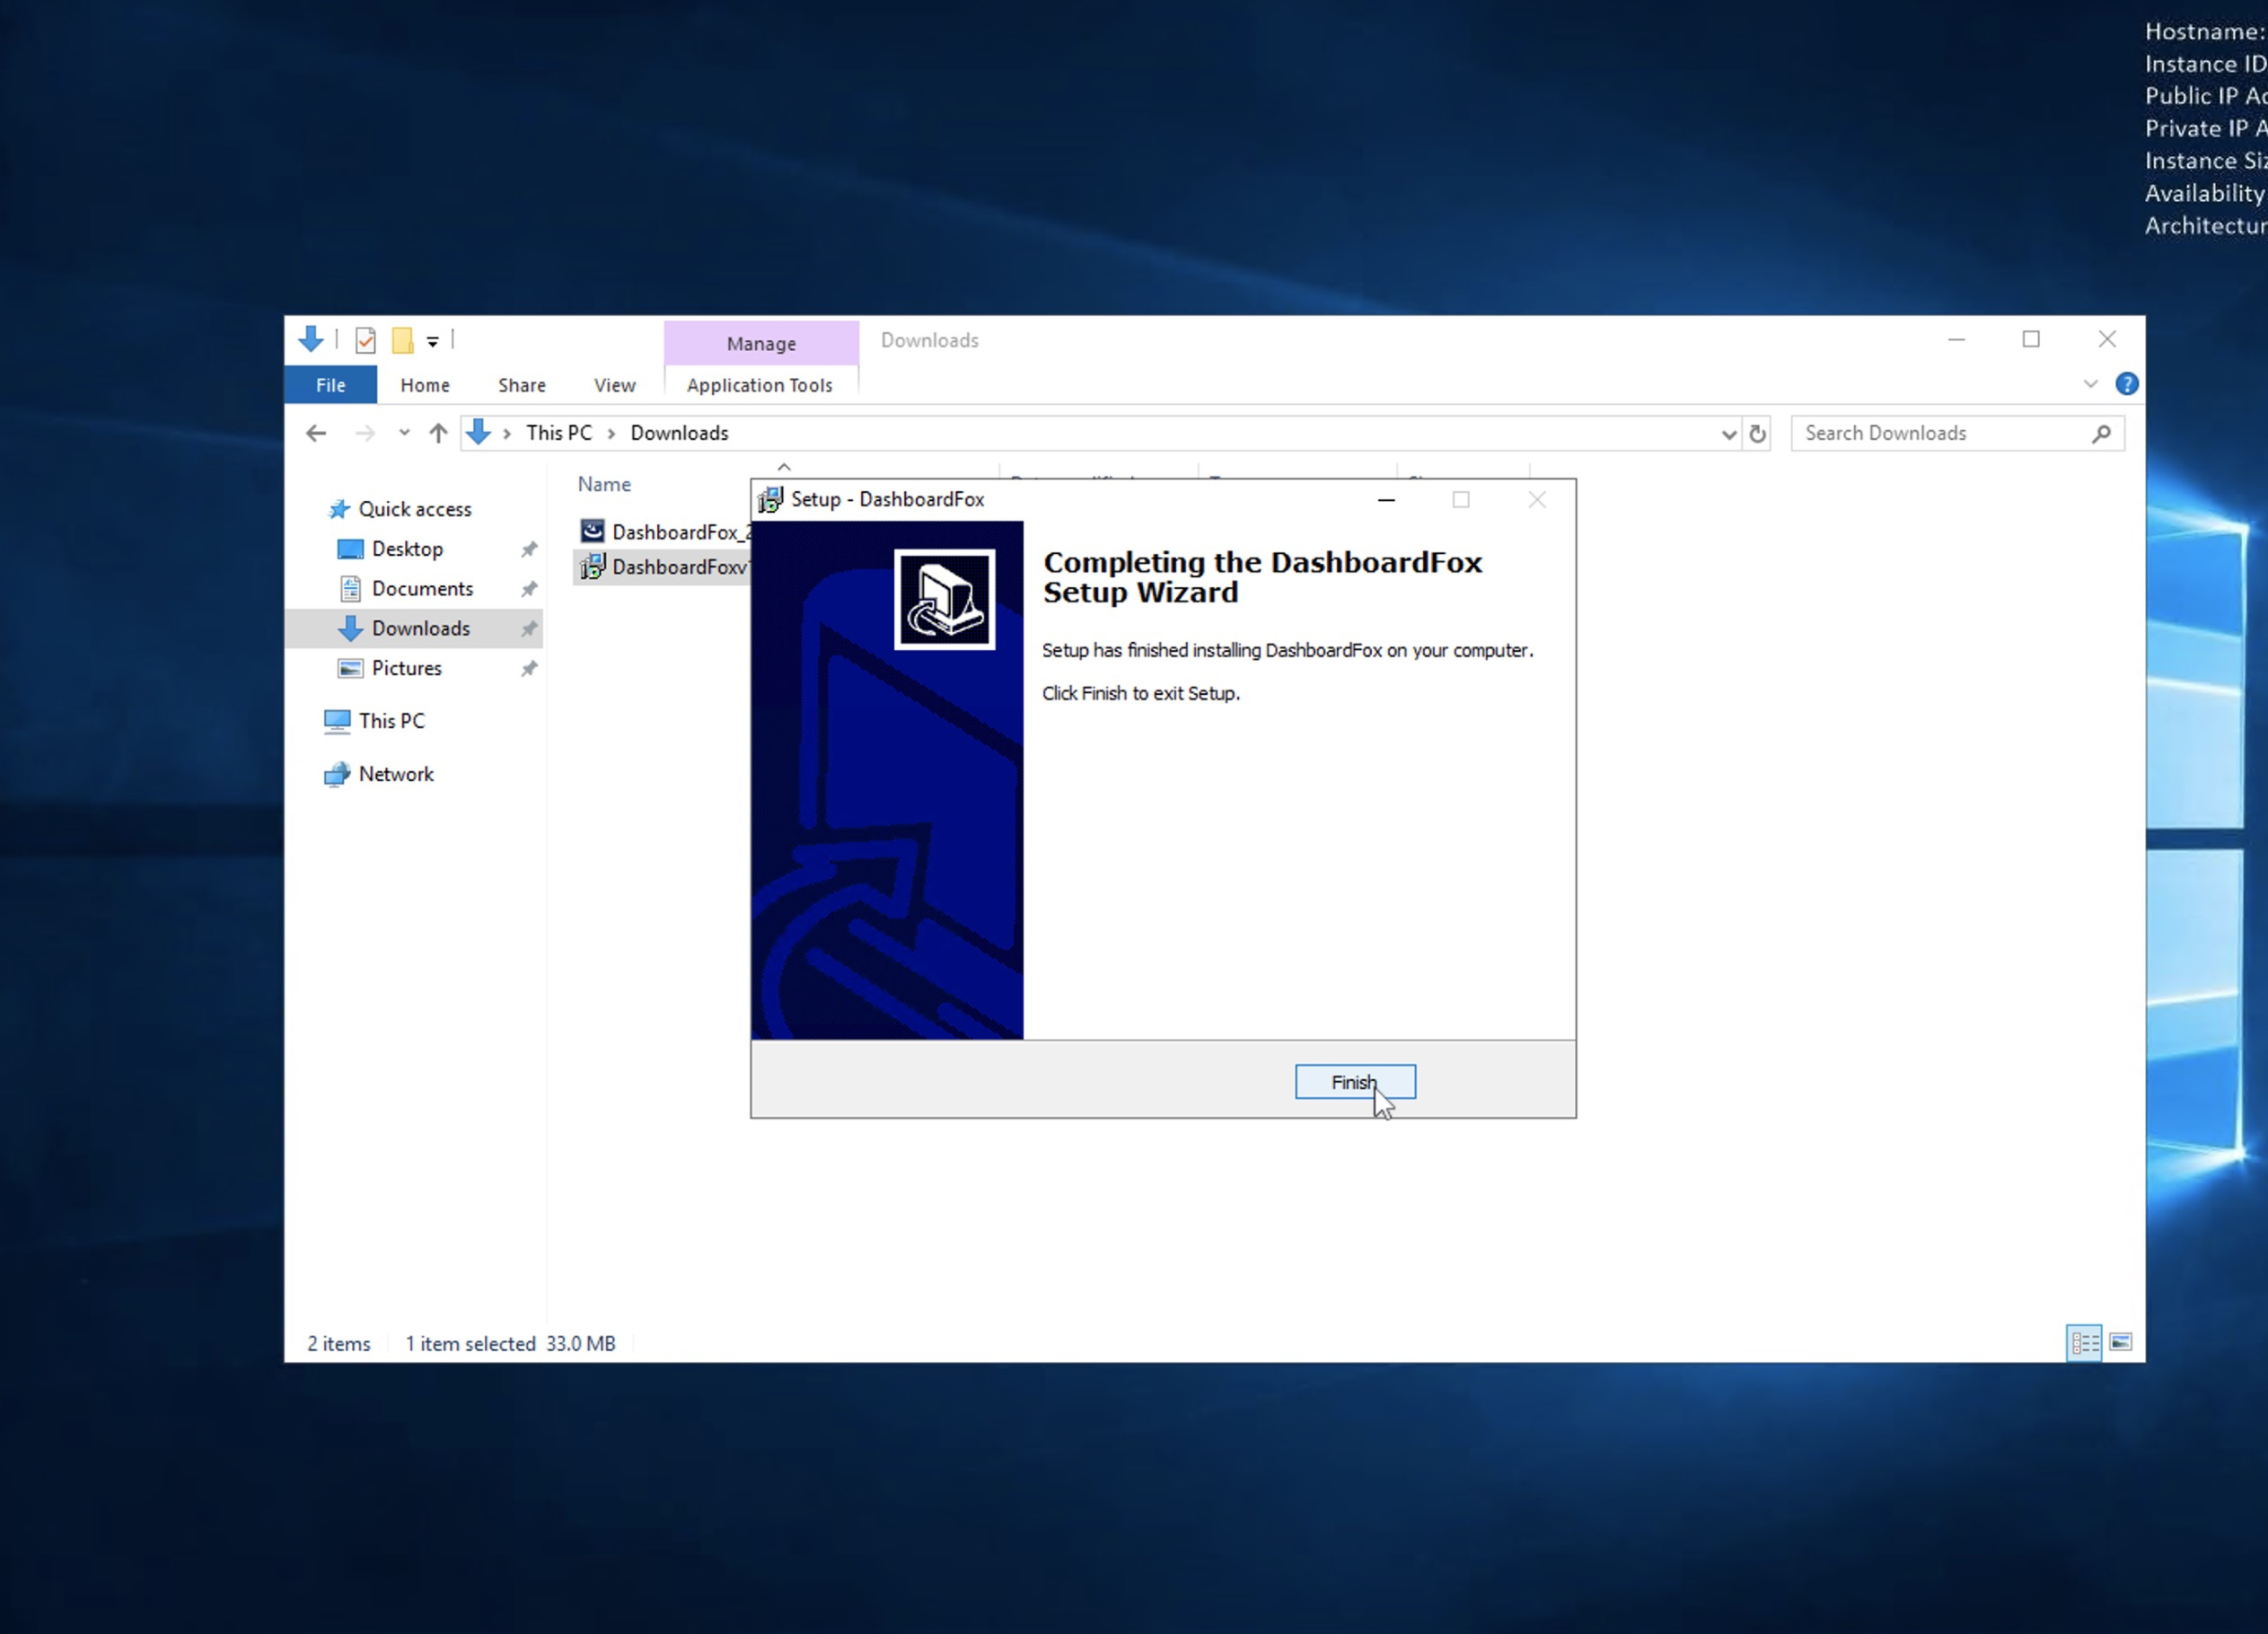
The very next screen you see if this one if you do step away. The install is finished.
Before you proceed to apply the Update file, you will need to activate DashboardFox.
Per this screen you can access it via http://yourservername/dashboardfox or http://localhost/dashboardfox
Click Finish

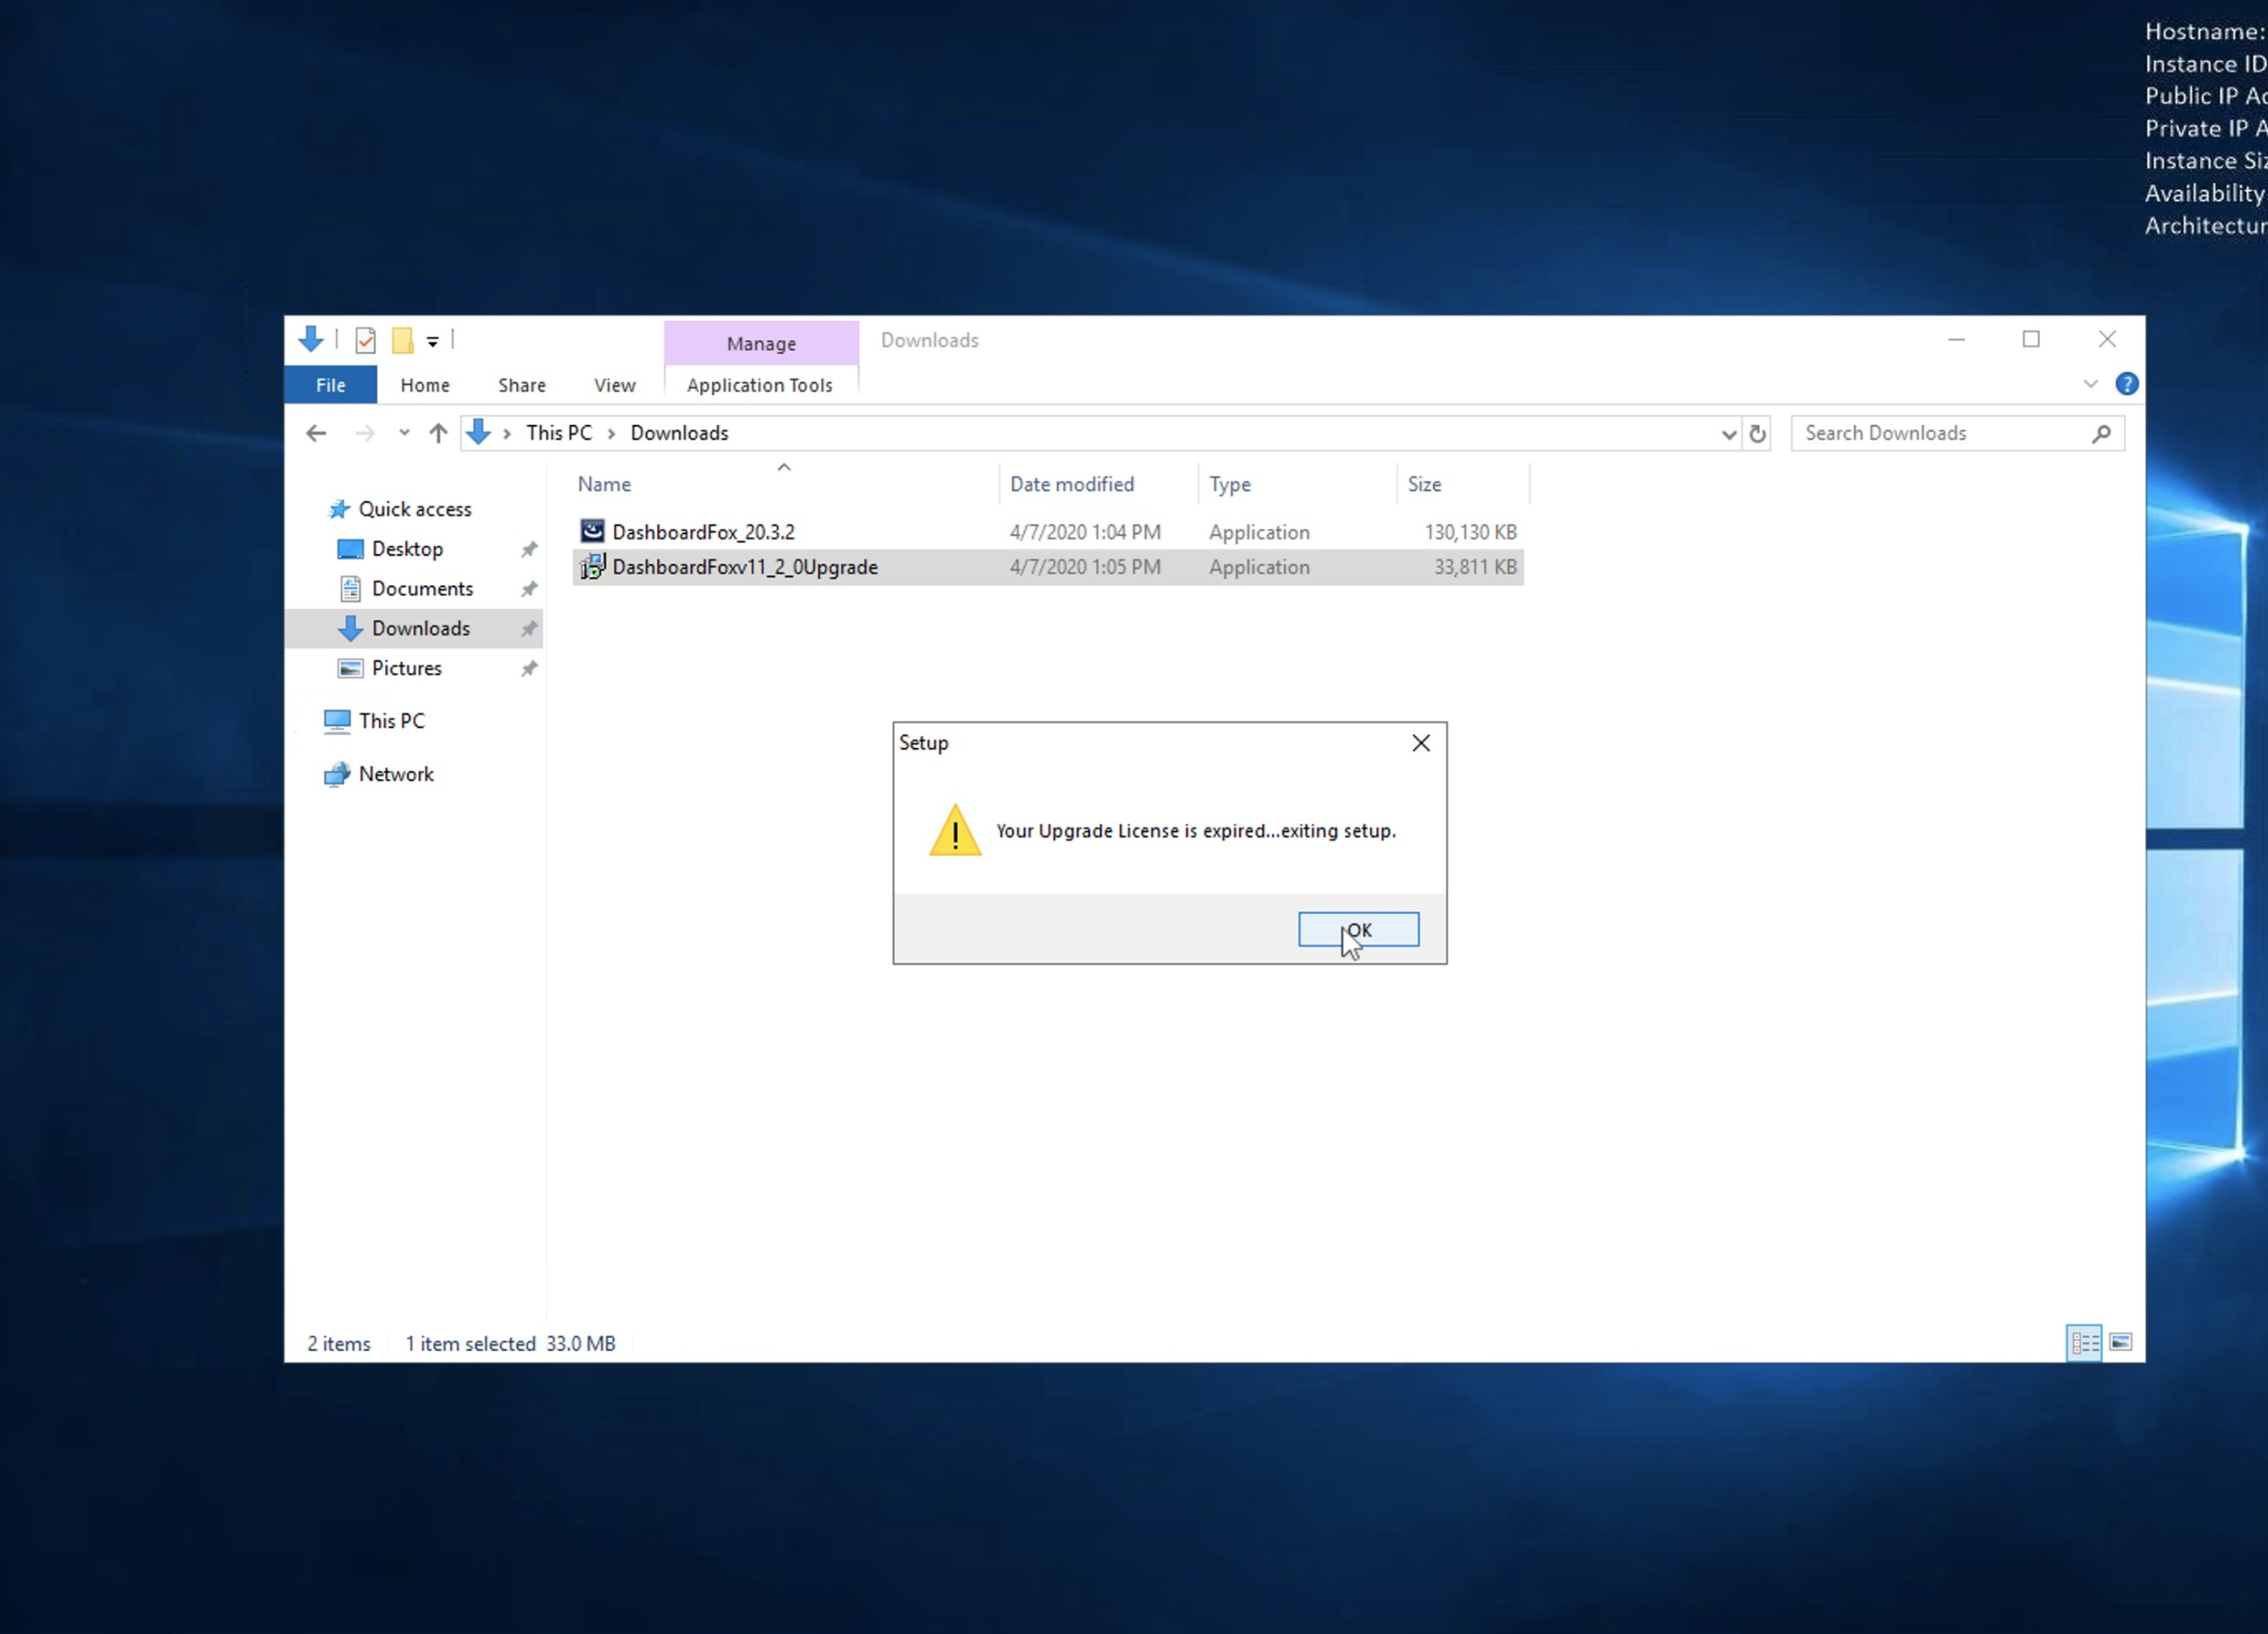
If you do attempt to apply the Update file before activating your trial of DashboardFox, you will see this message.
In the next steps we will complete the trial activtion and come back to the updates.
Normally at this point we would recommend you move to your desktop browser and go to http://<servername>/dashboardfox
But if you are going to continue with the activation on the server, and you're using IE, be sure that Enhanced Security Configuration is not enabled.
You can disbale that from the Server Manager by clicking on Local Server and finding the option there.
Alternatively, you can download another browser like Edge, Chrome or Firefox and use that on the server.
If you are going to use the browser on the server, you can go to http://<servername>/dashboardfox or http://localhost/dashboardfox
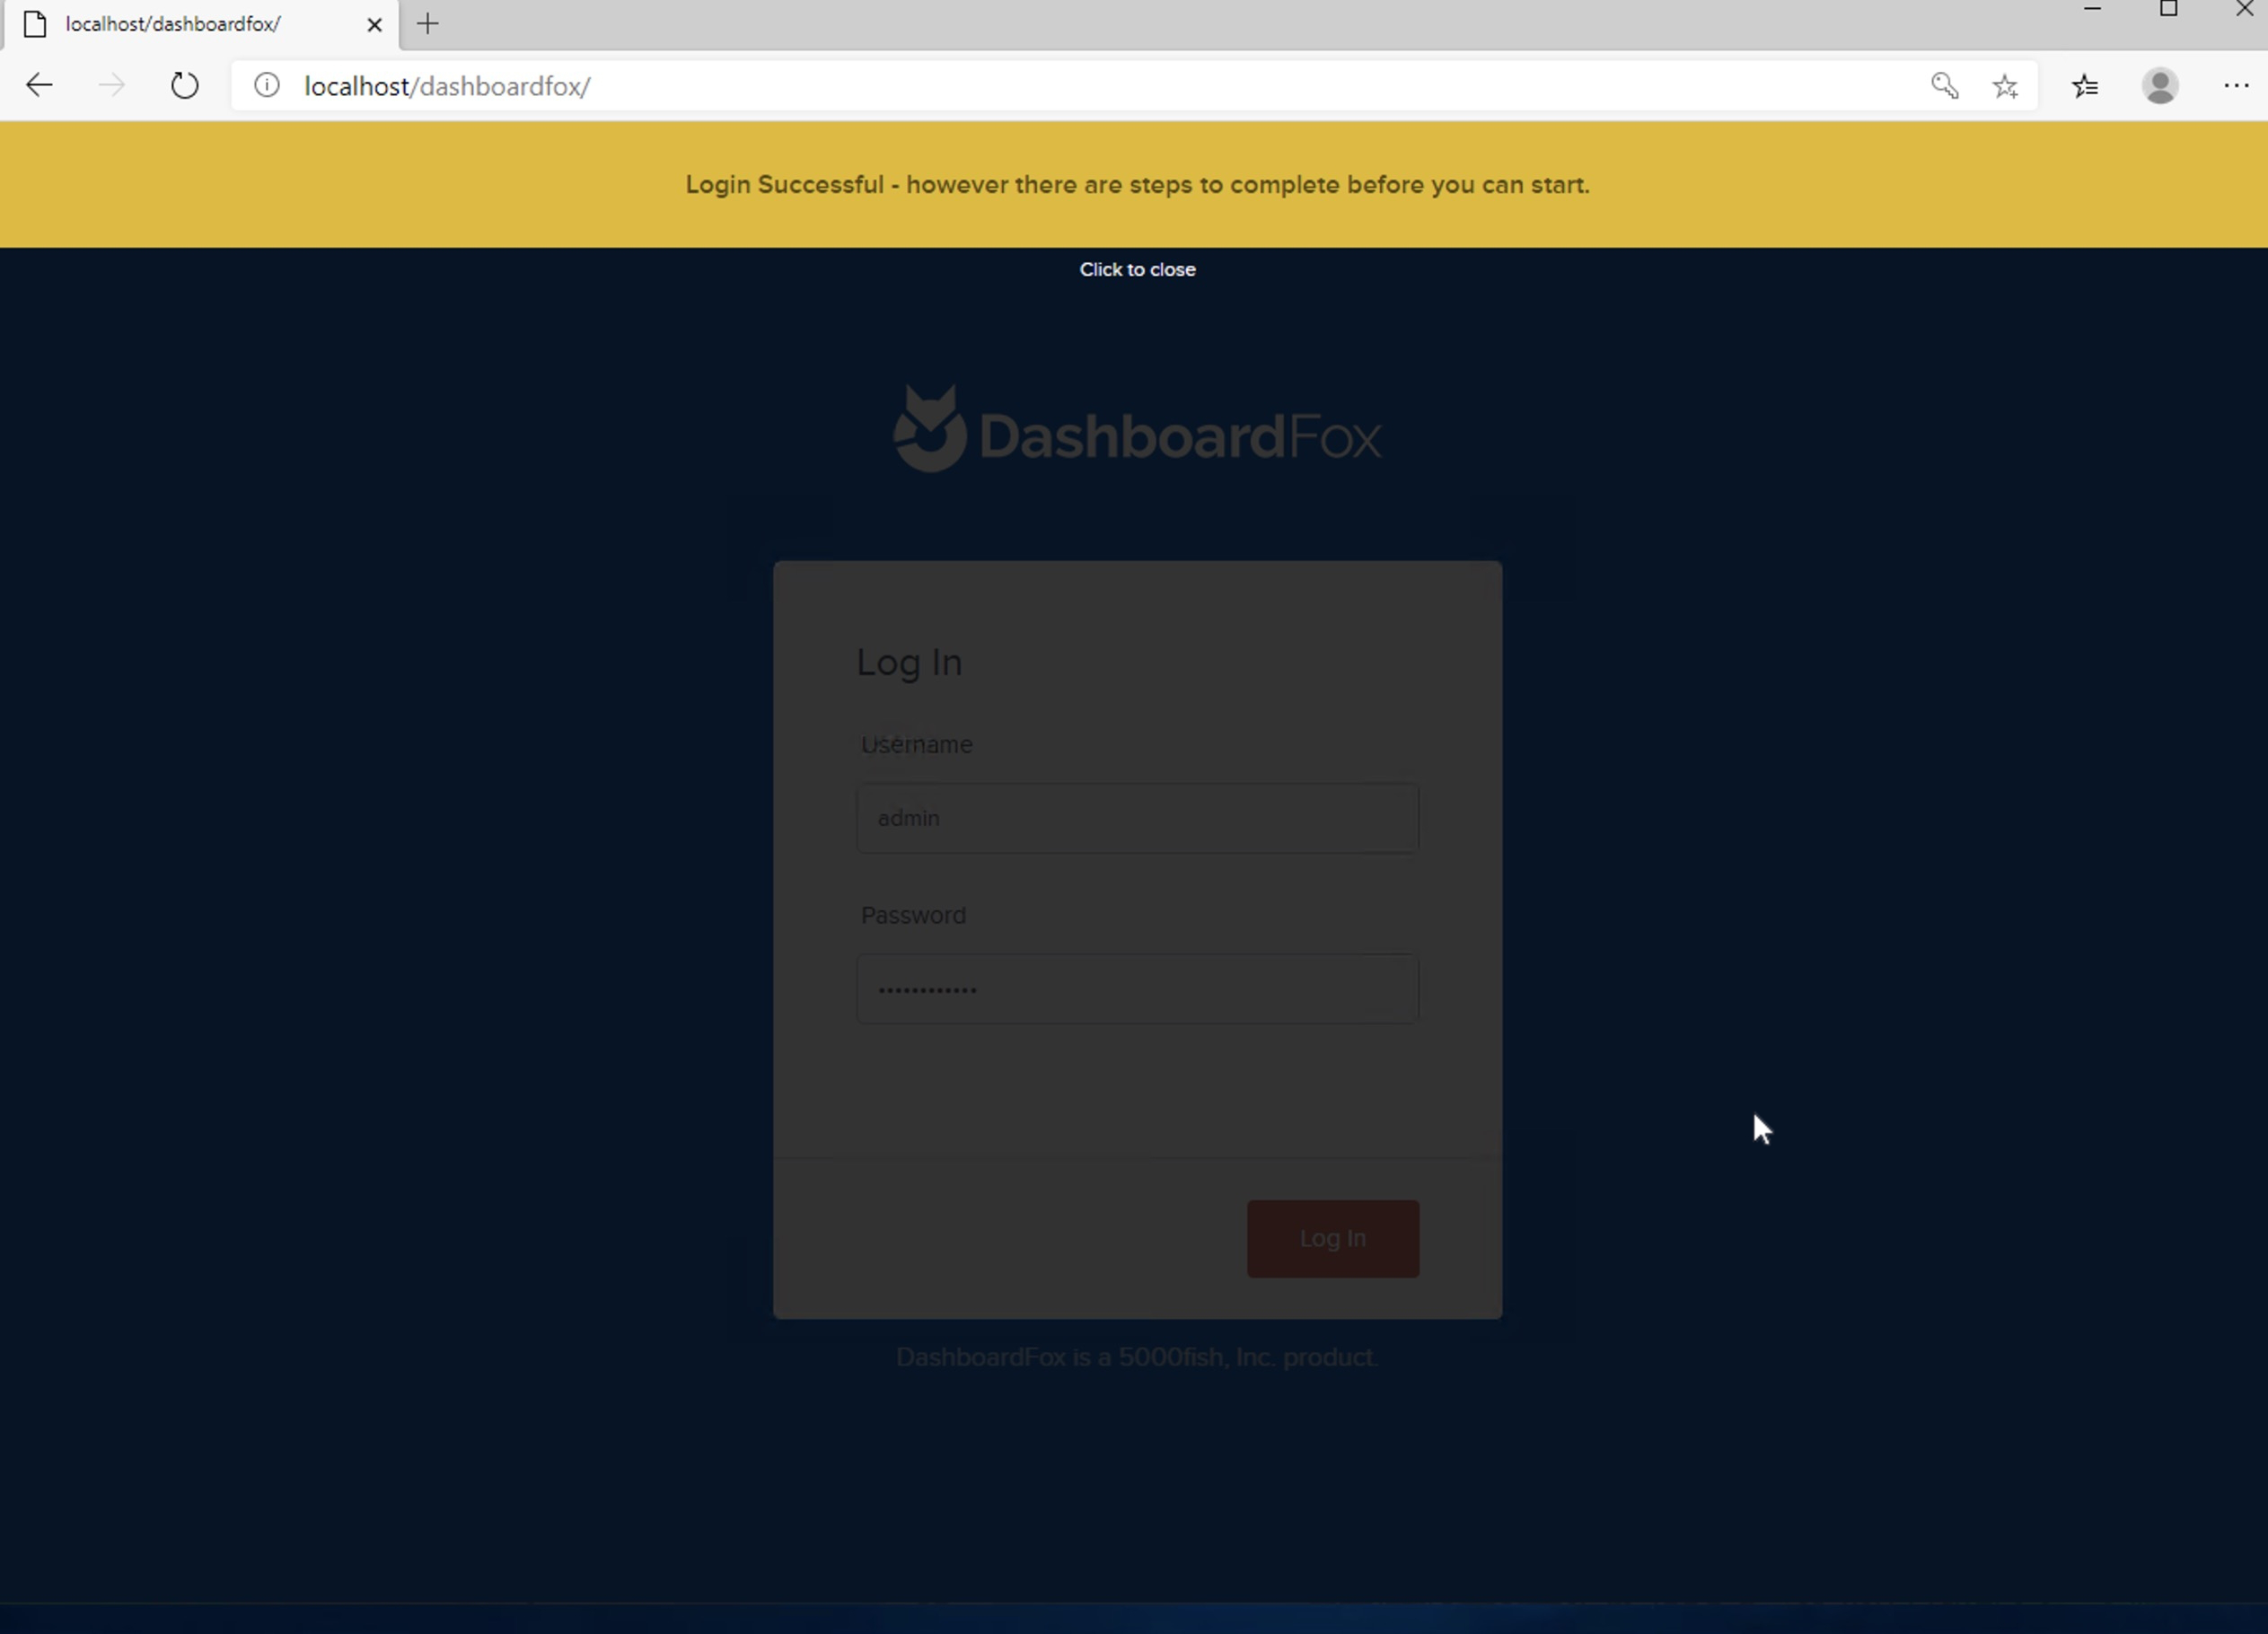
Login with username: admin and password: dashboardfox
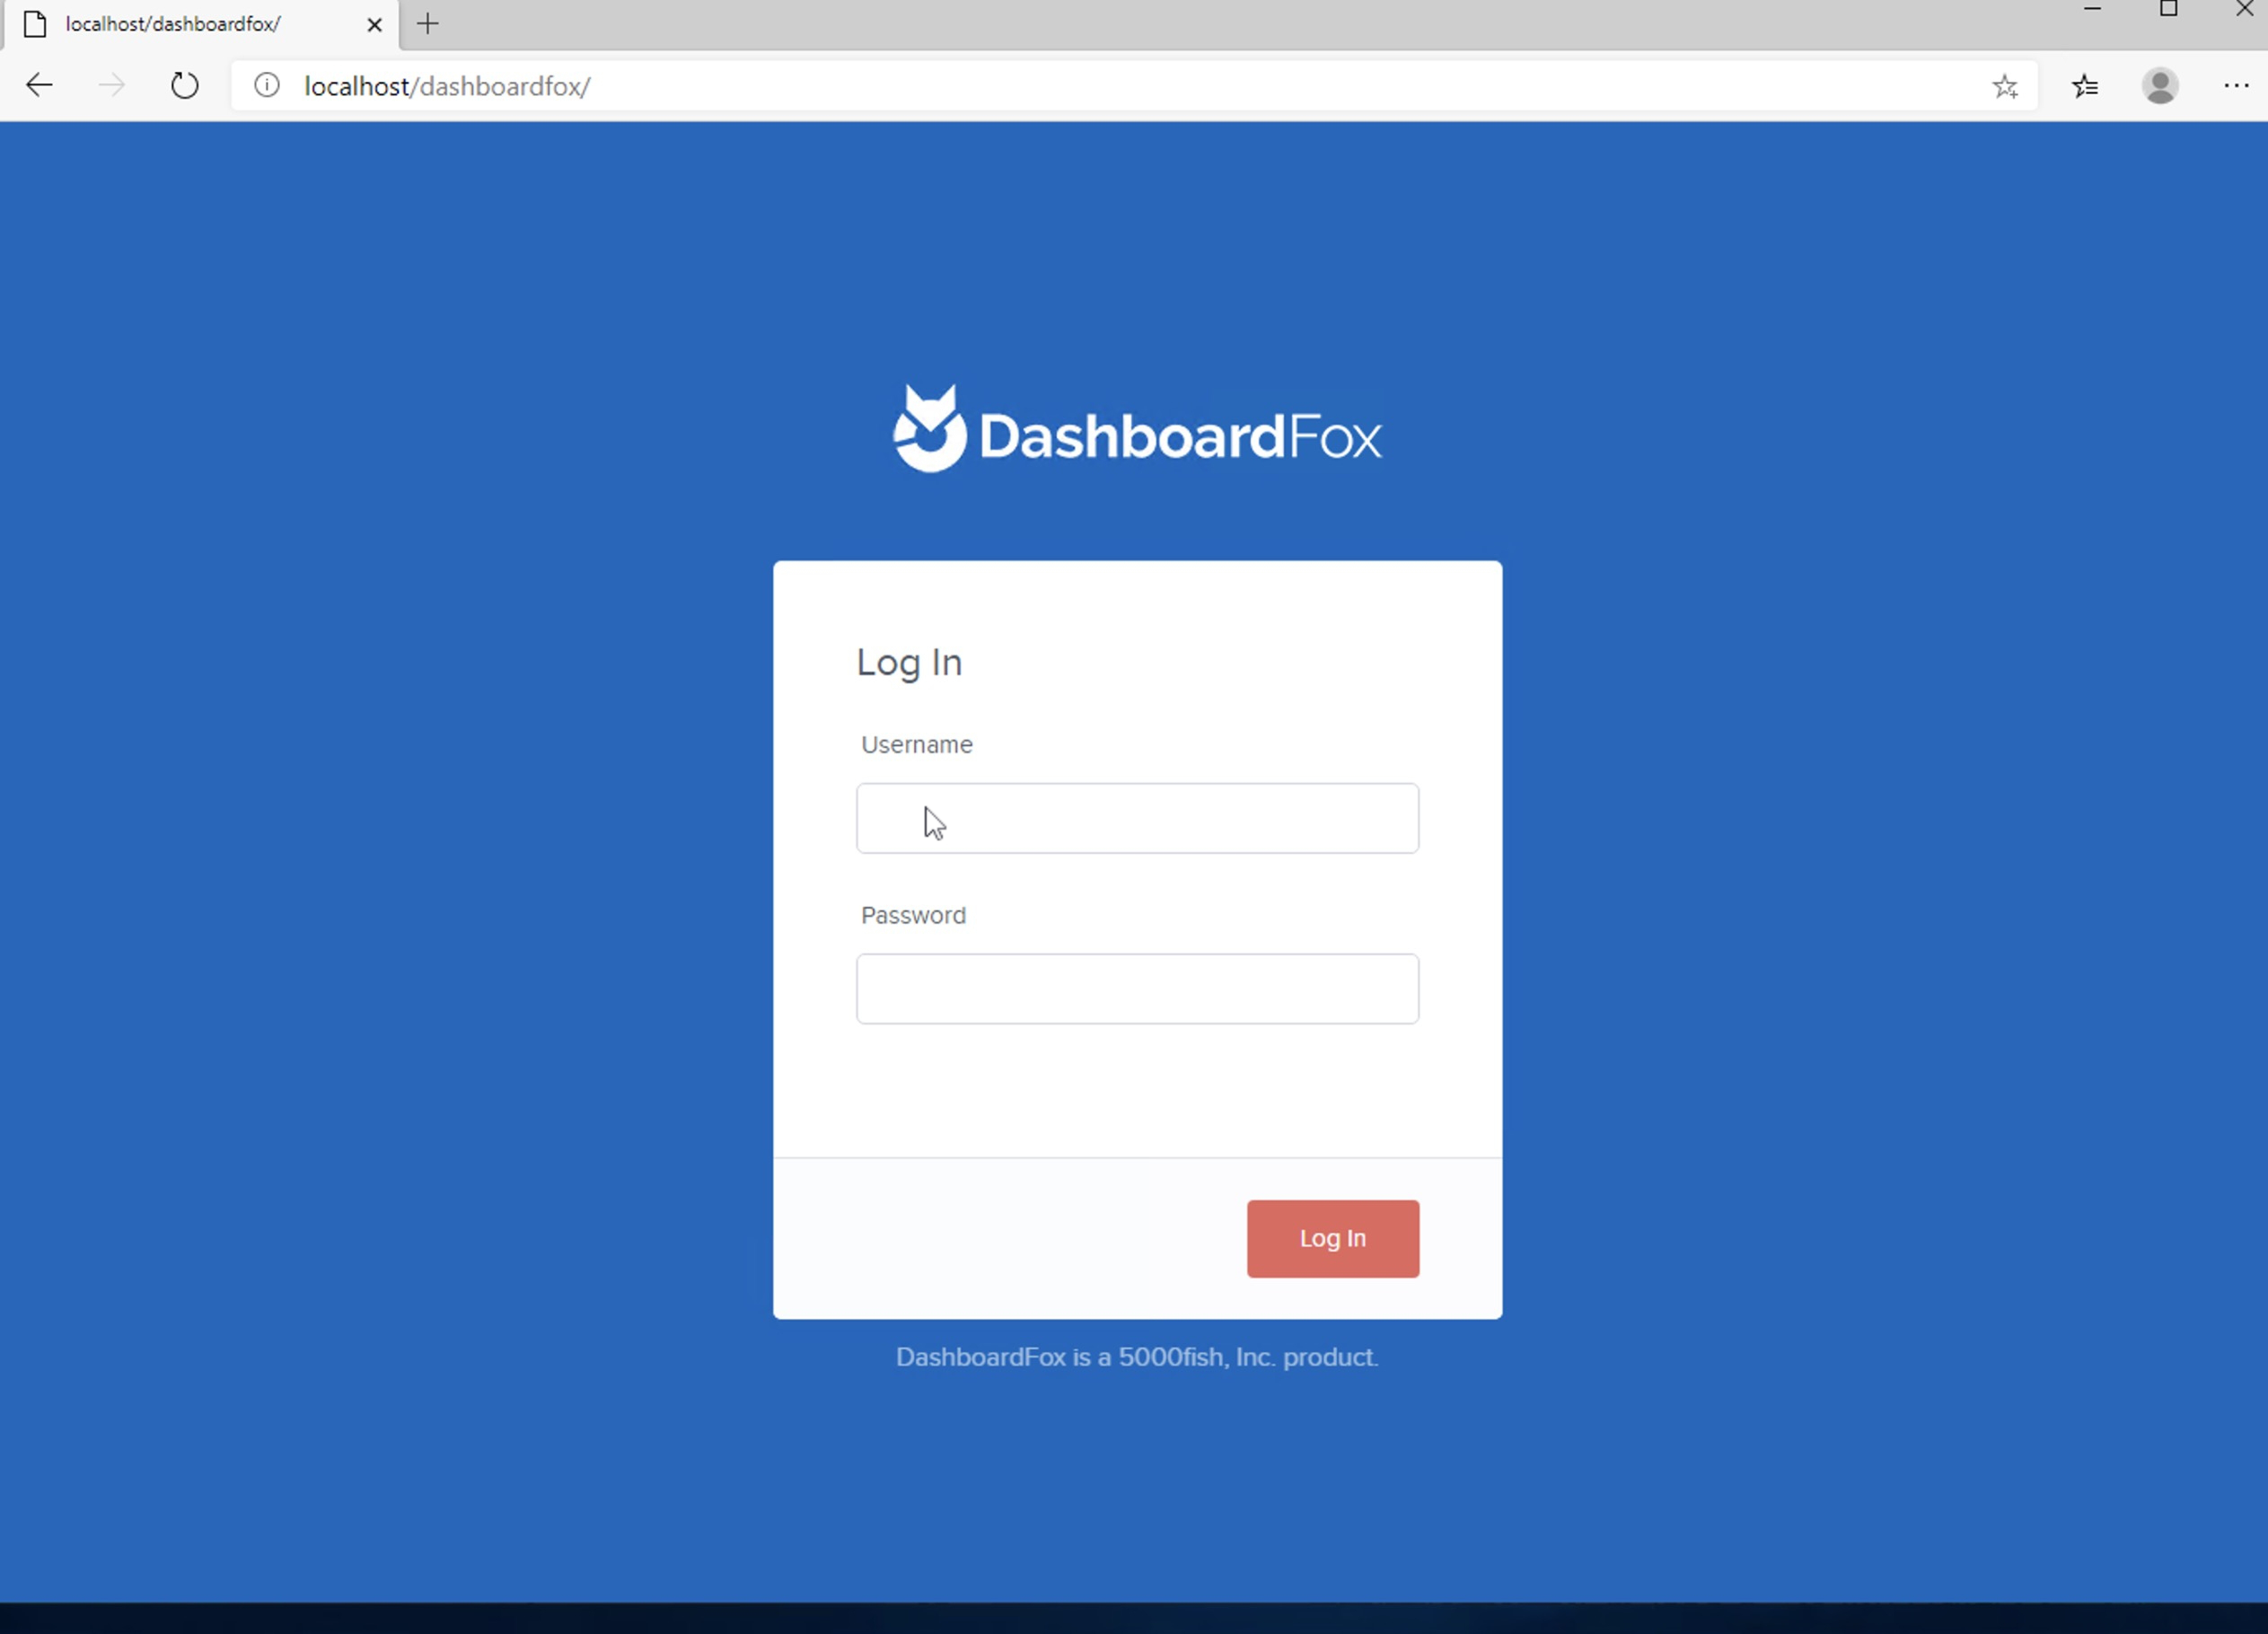
The first time you login, you will get a YELLOW BAR letting you know Login was successful and you are ready to activate DashboardFox.
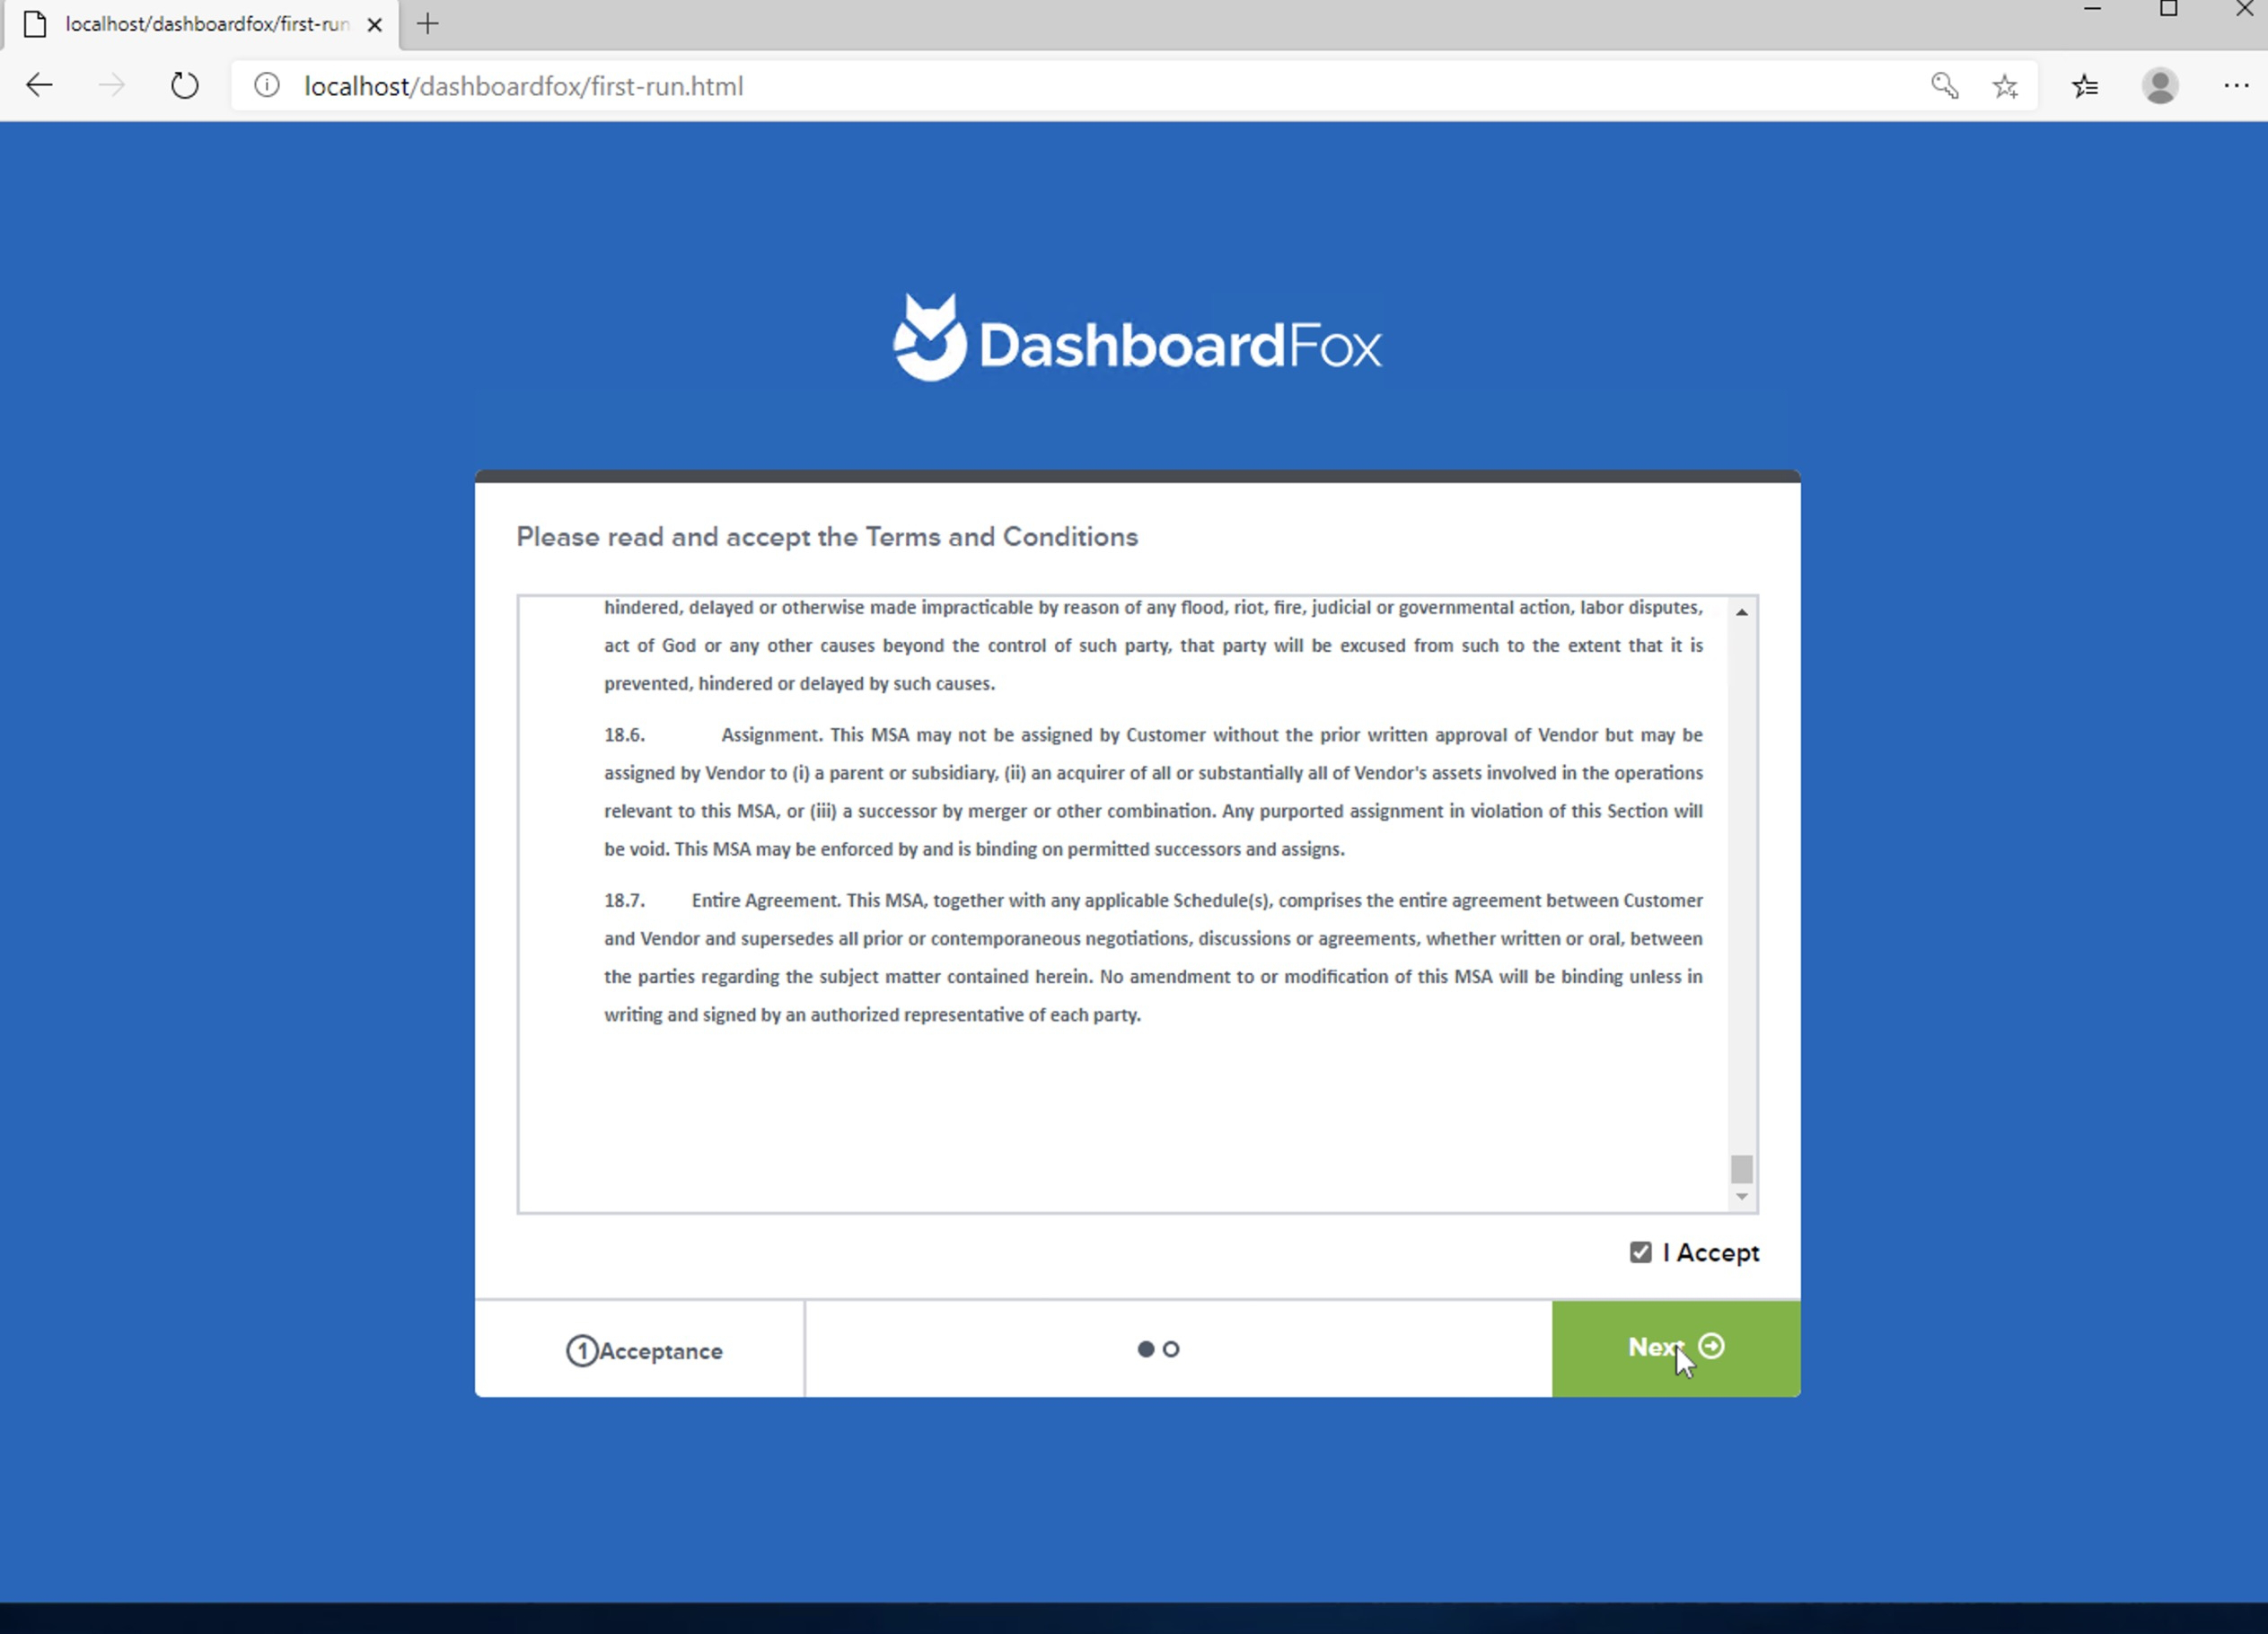
The first step is to review the terms and conditions.
Click the I Accept checkbox and the Next button if approved.
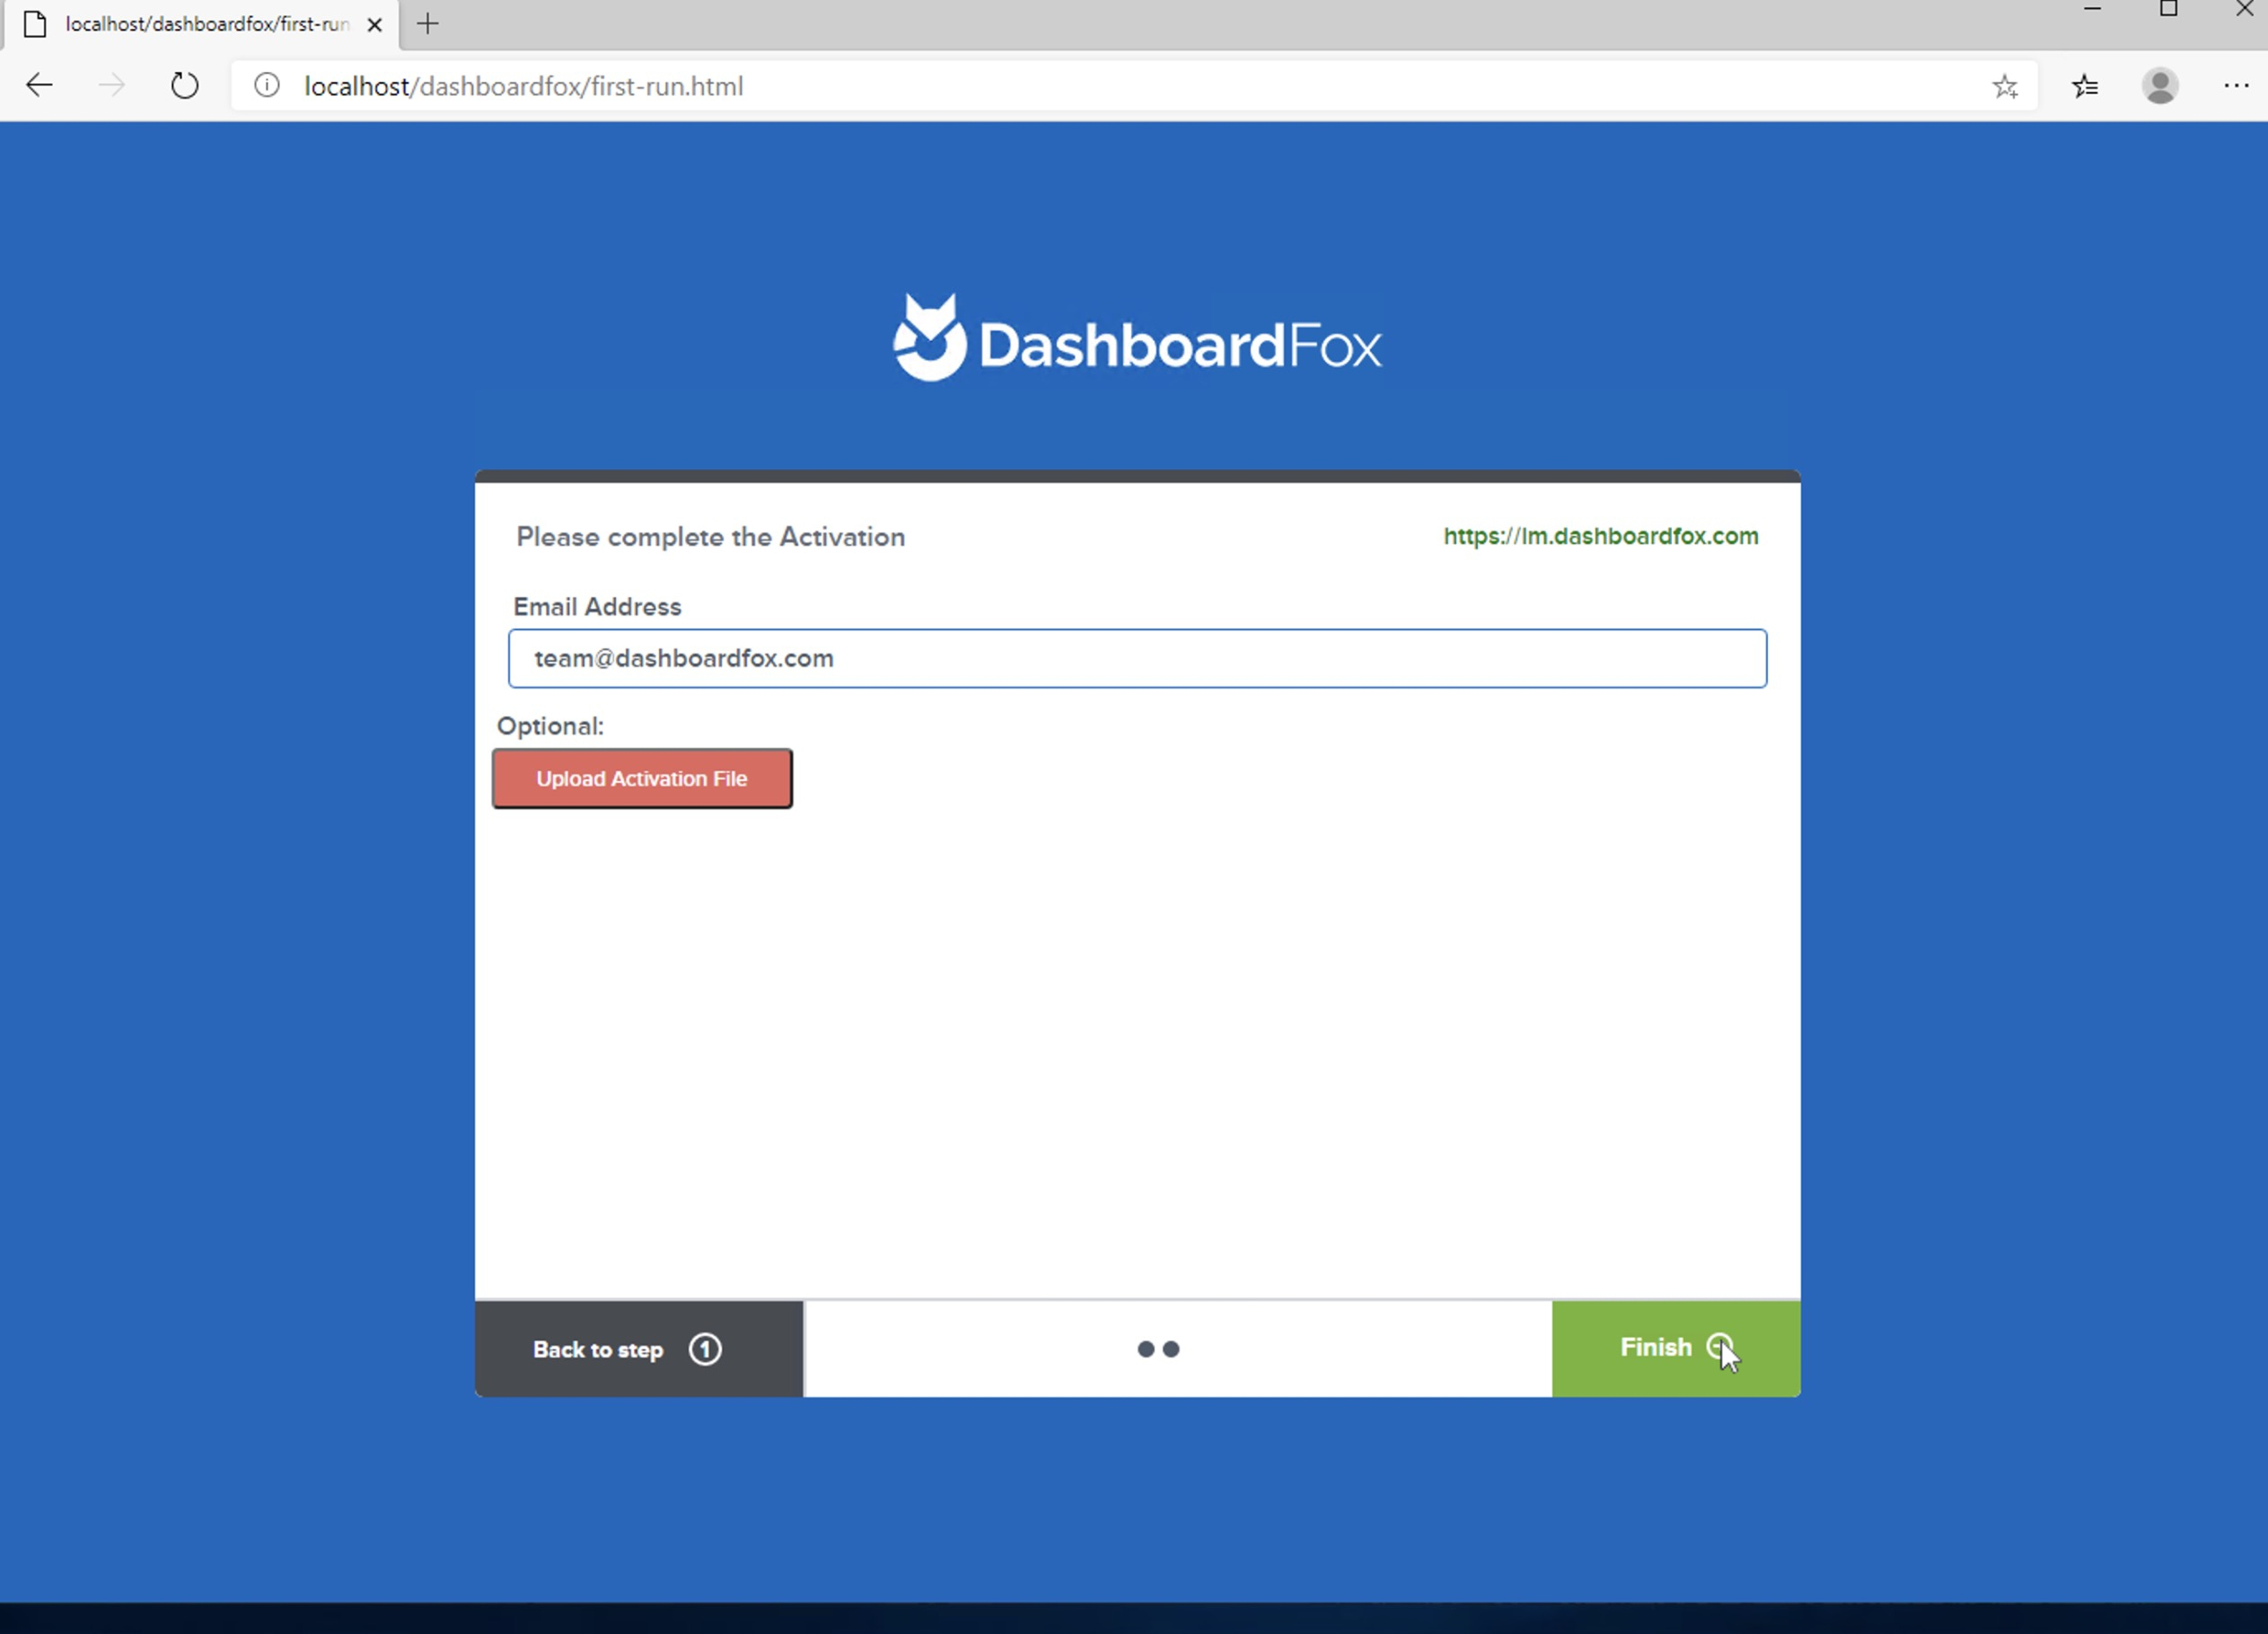
On the activation screen, you should see in the upper left a green link to our license manager server.
If the link is green or you hover over and it says "Connection Success" simply enter your business email in the email address field and click Finish
We do recommend that you put your business email and not a generic mailbox here as we will send onboarding emails to help you get Yurbi installed to this address. Don't worry, we don't spam, and you can unsubscribe at any time.
Note: There is validation checking for a business email account. The checking is not 100% so if you do put in your valid business email and it says that it is not a valid email, please use another email or contact us at [email protected] and we can whitelist your domain. Generally this happens when your business has an email server that is in super locked down mode and the validation checks fail.
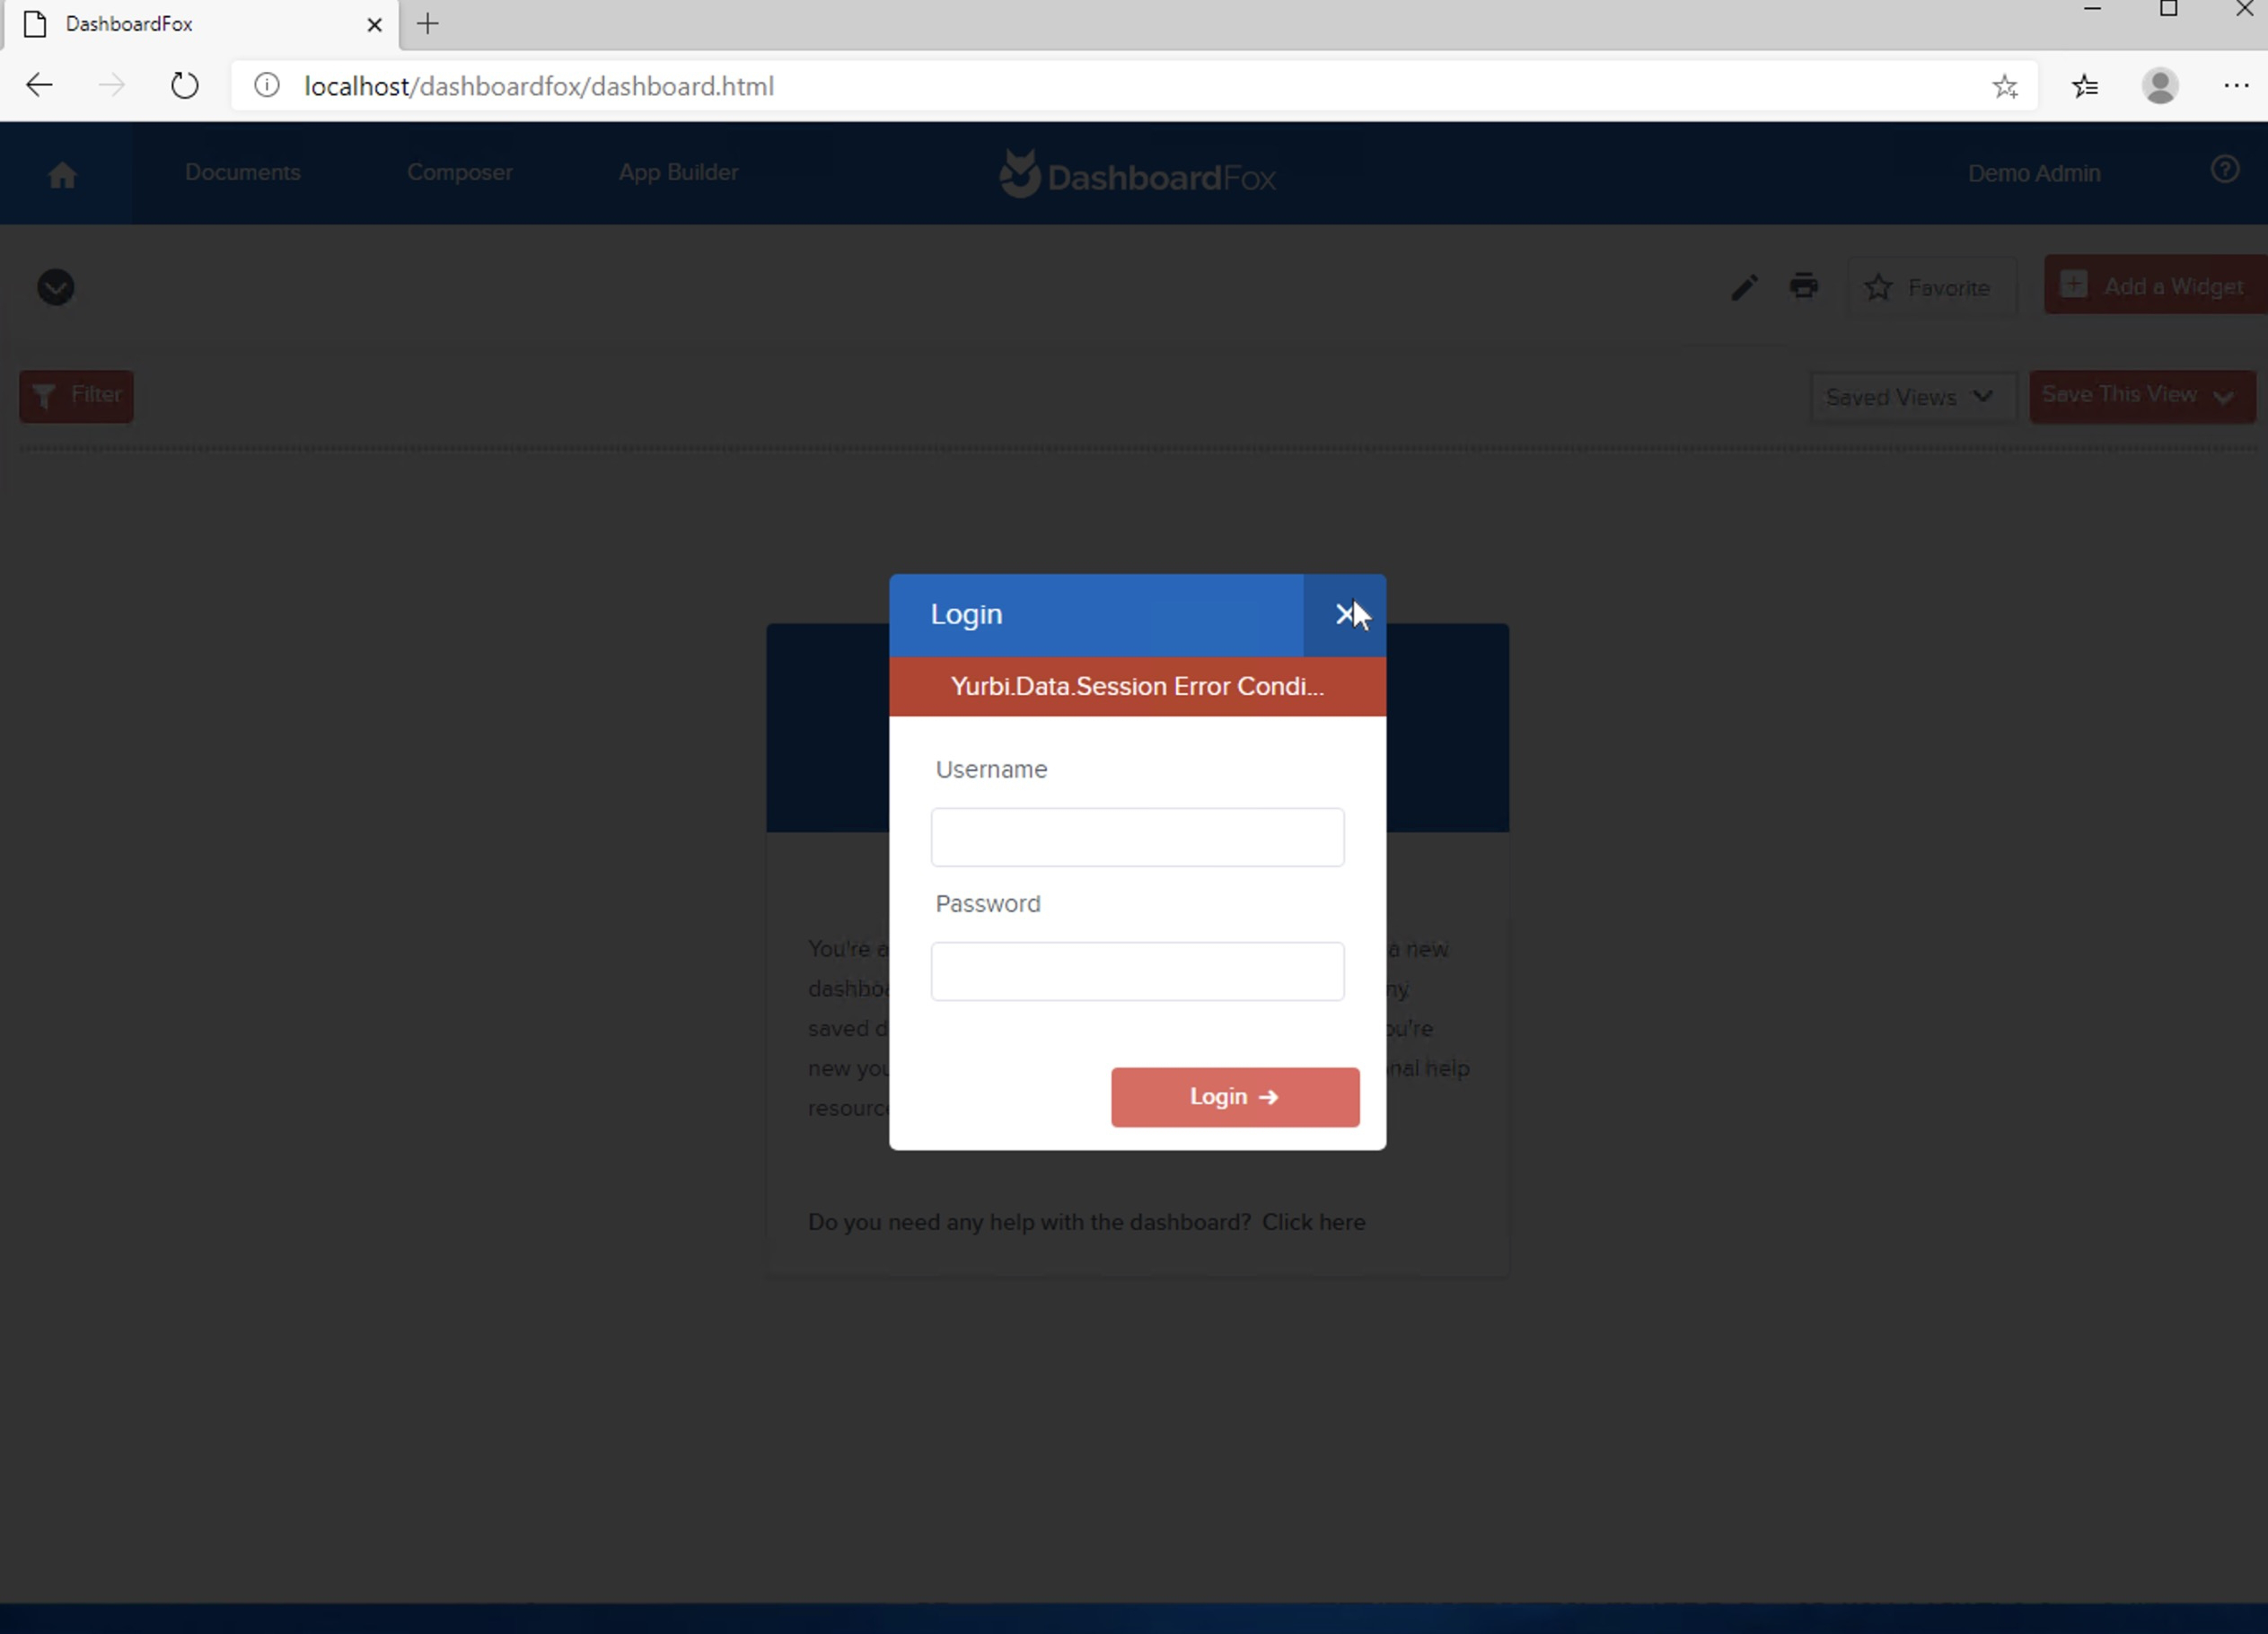
If after hitting Finish you are presented with this screen, it most likely means the validation checking timed out or the connection to your local server timed out. Click the X in the right corner and it will return you to the login screen.
Re-login in as admin with password dashboardfox and you will see the YELLOW BAR again to repeat the activation process.
This time out normally only occurs once and the second time your activation will work fine. But if this occurs a second time, please contact us at [email protected] for assistance.
A successful activation will log you in automatically and take you to the Getting Started dashboard in Demo Mode.
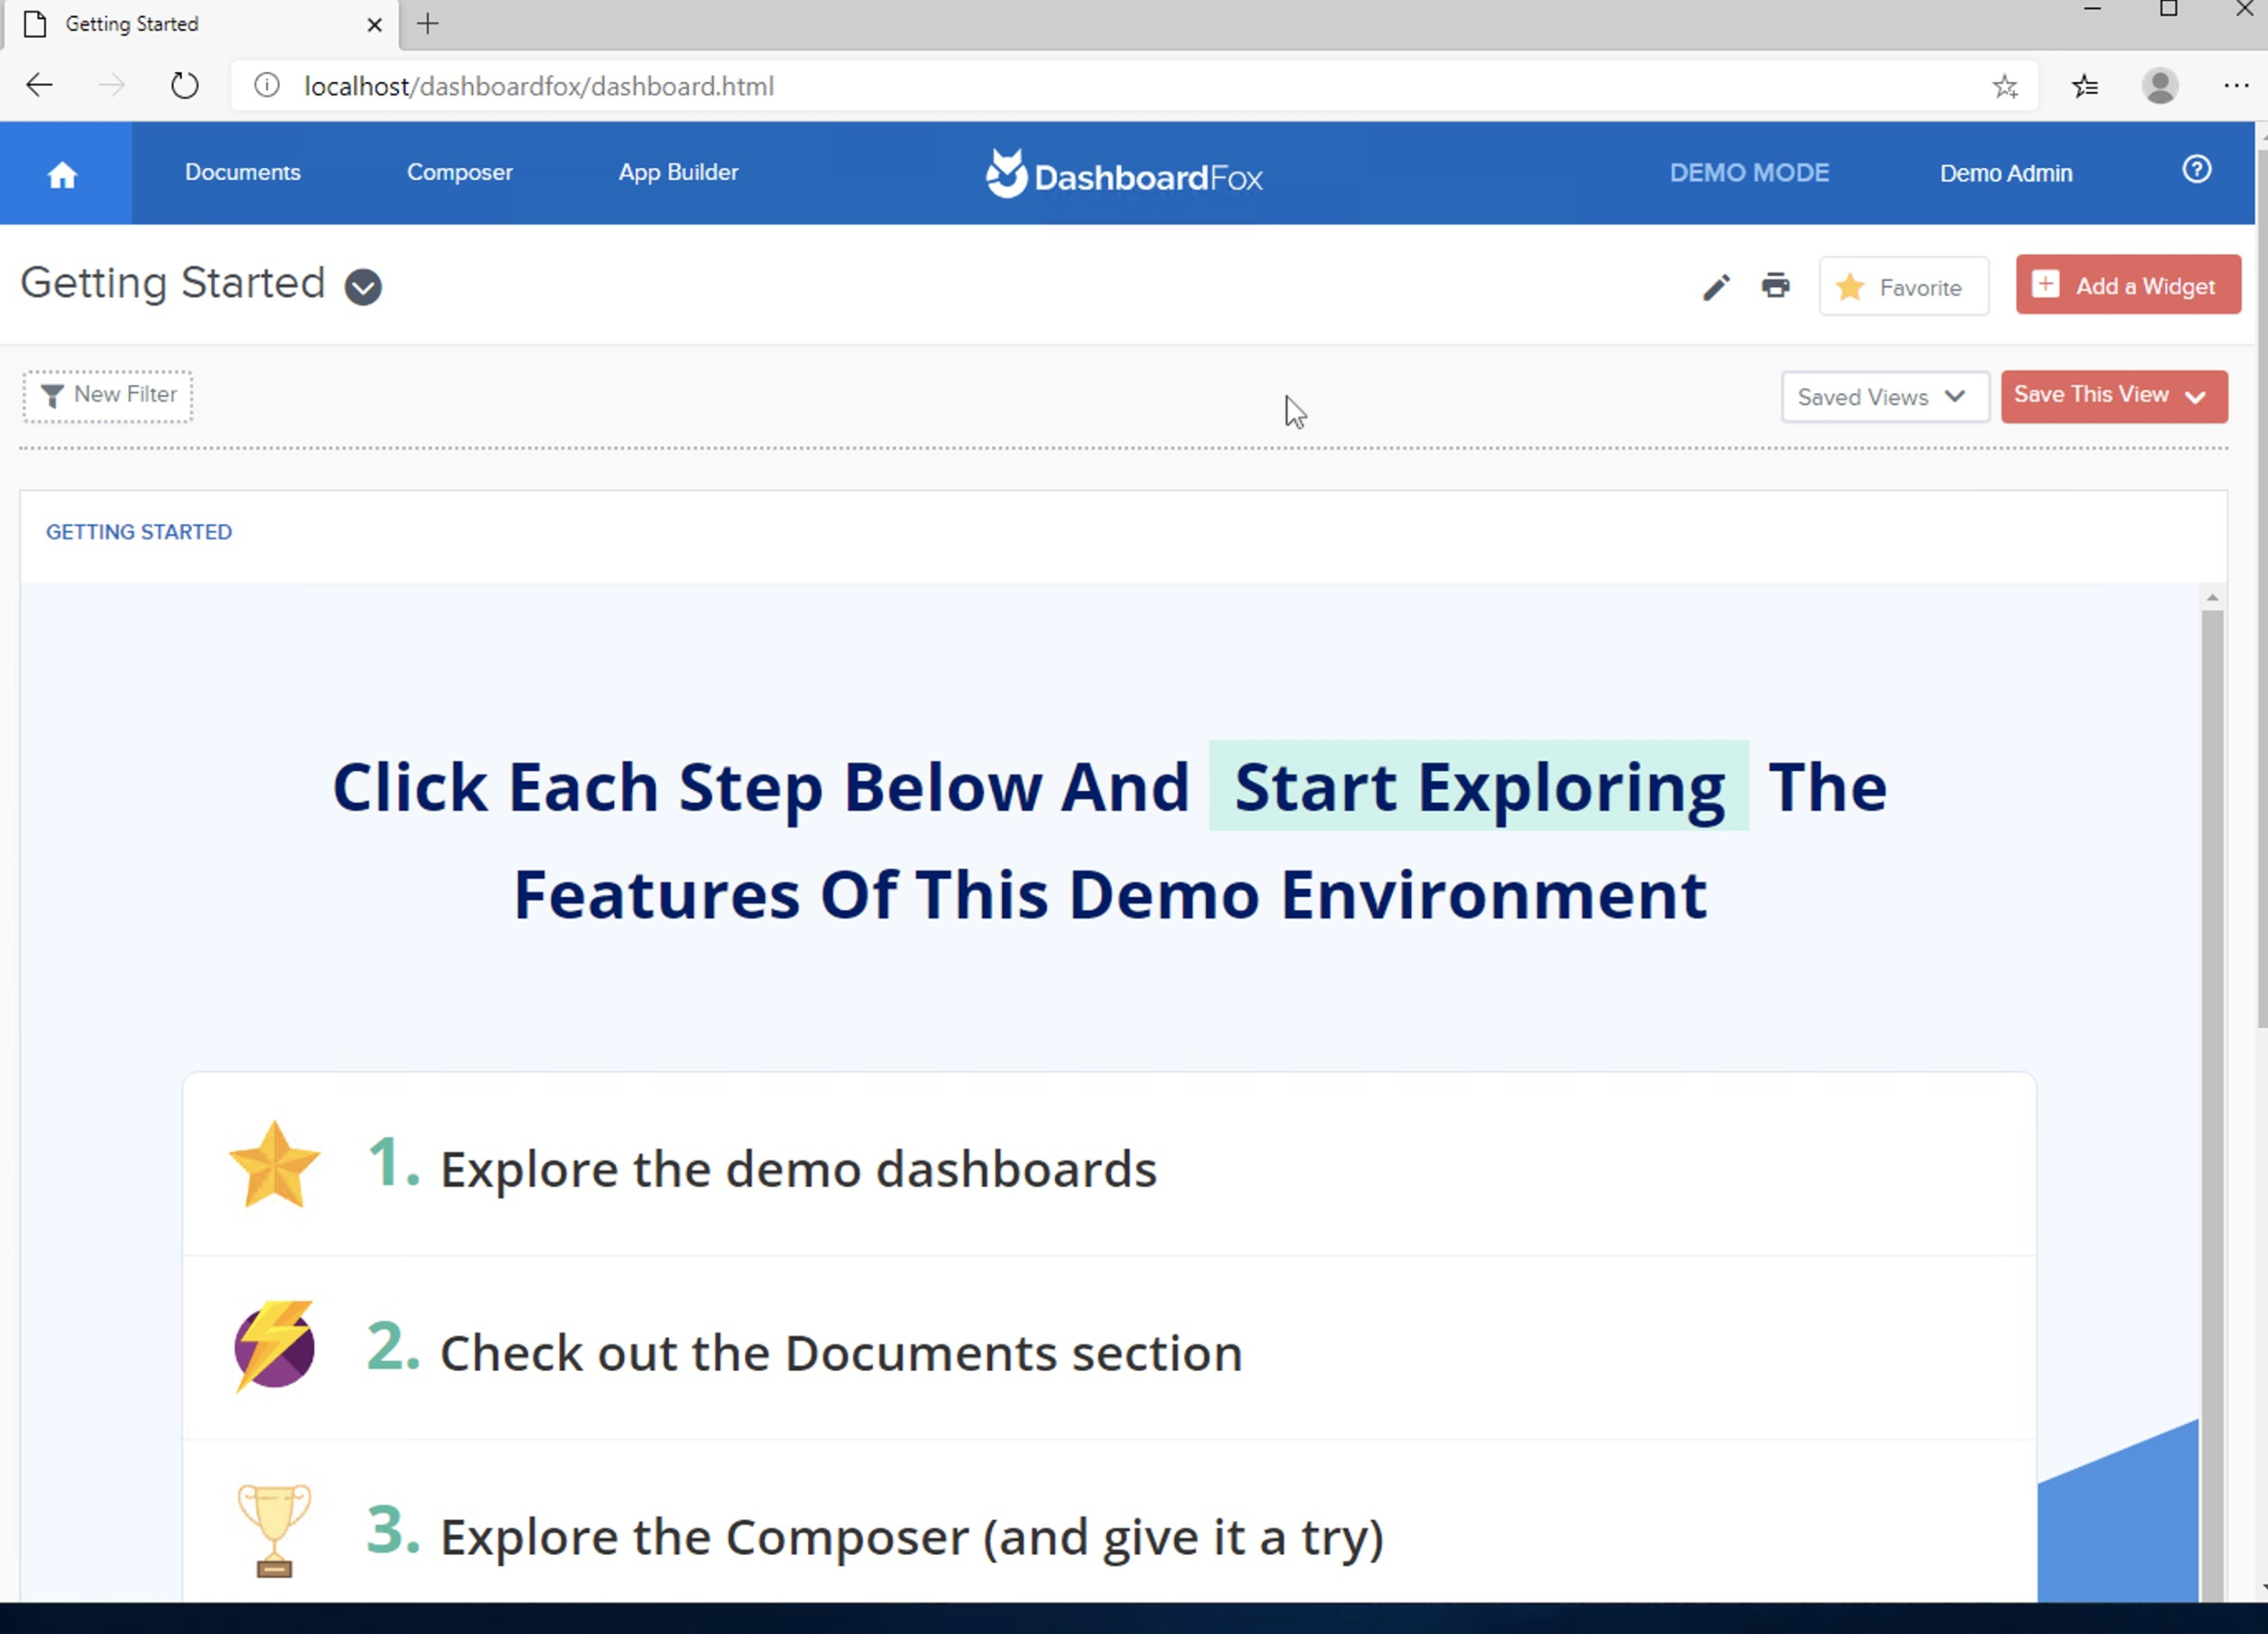
Before fully exploring the Demo Mode, apply the very latest updates and fixes.
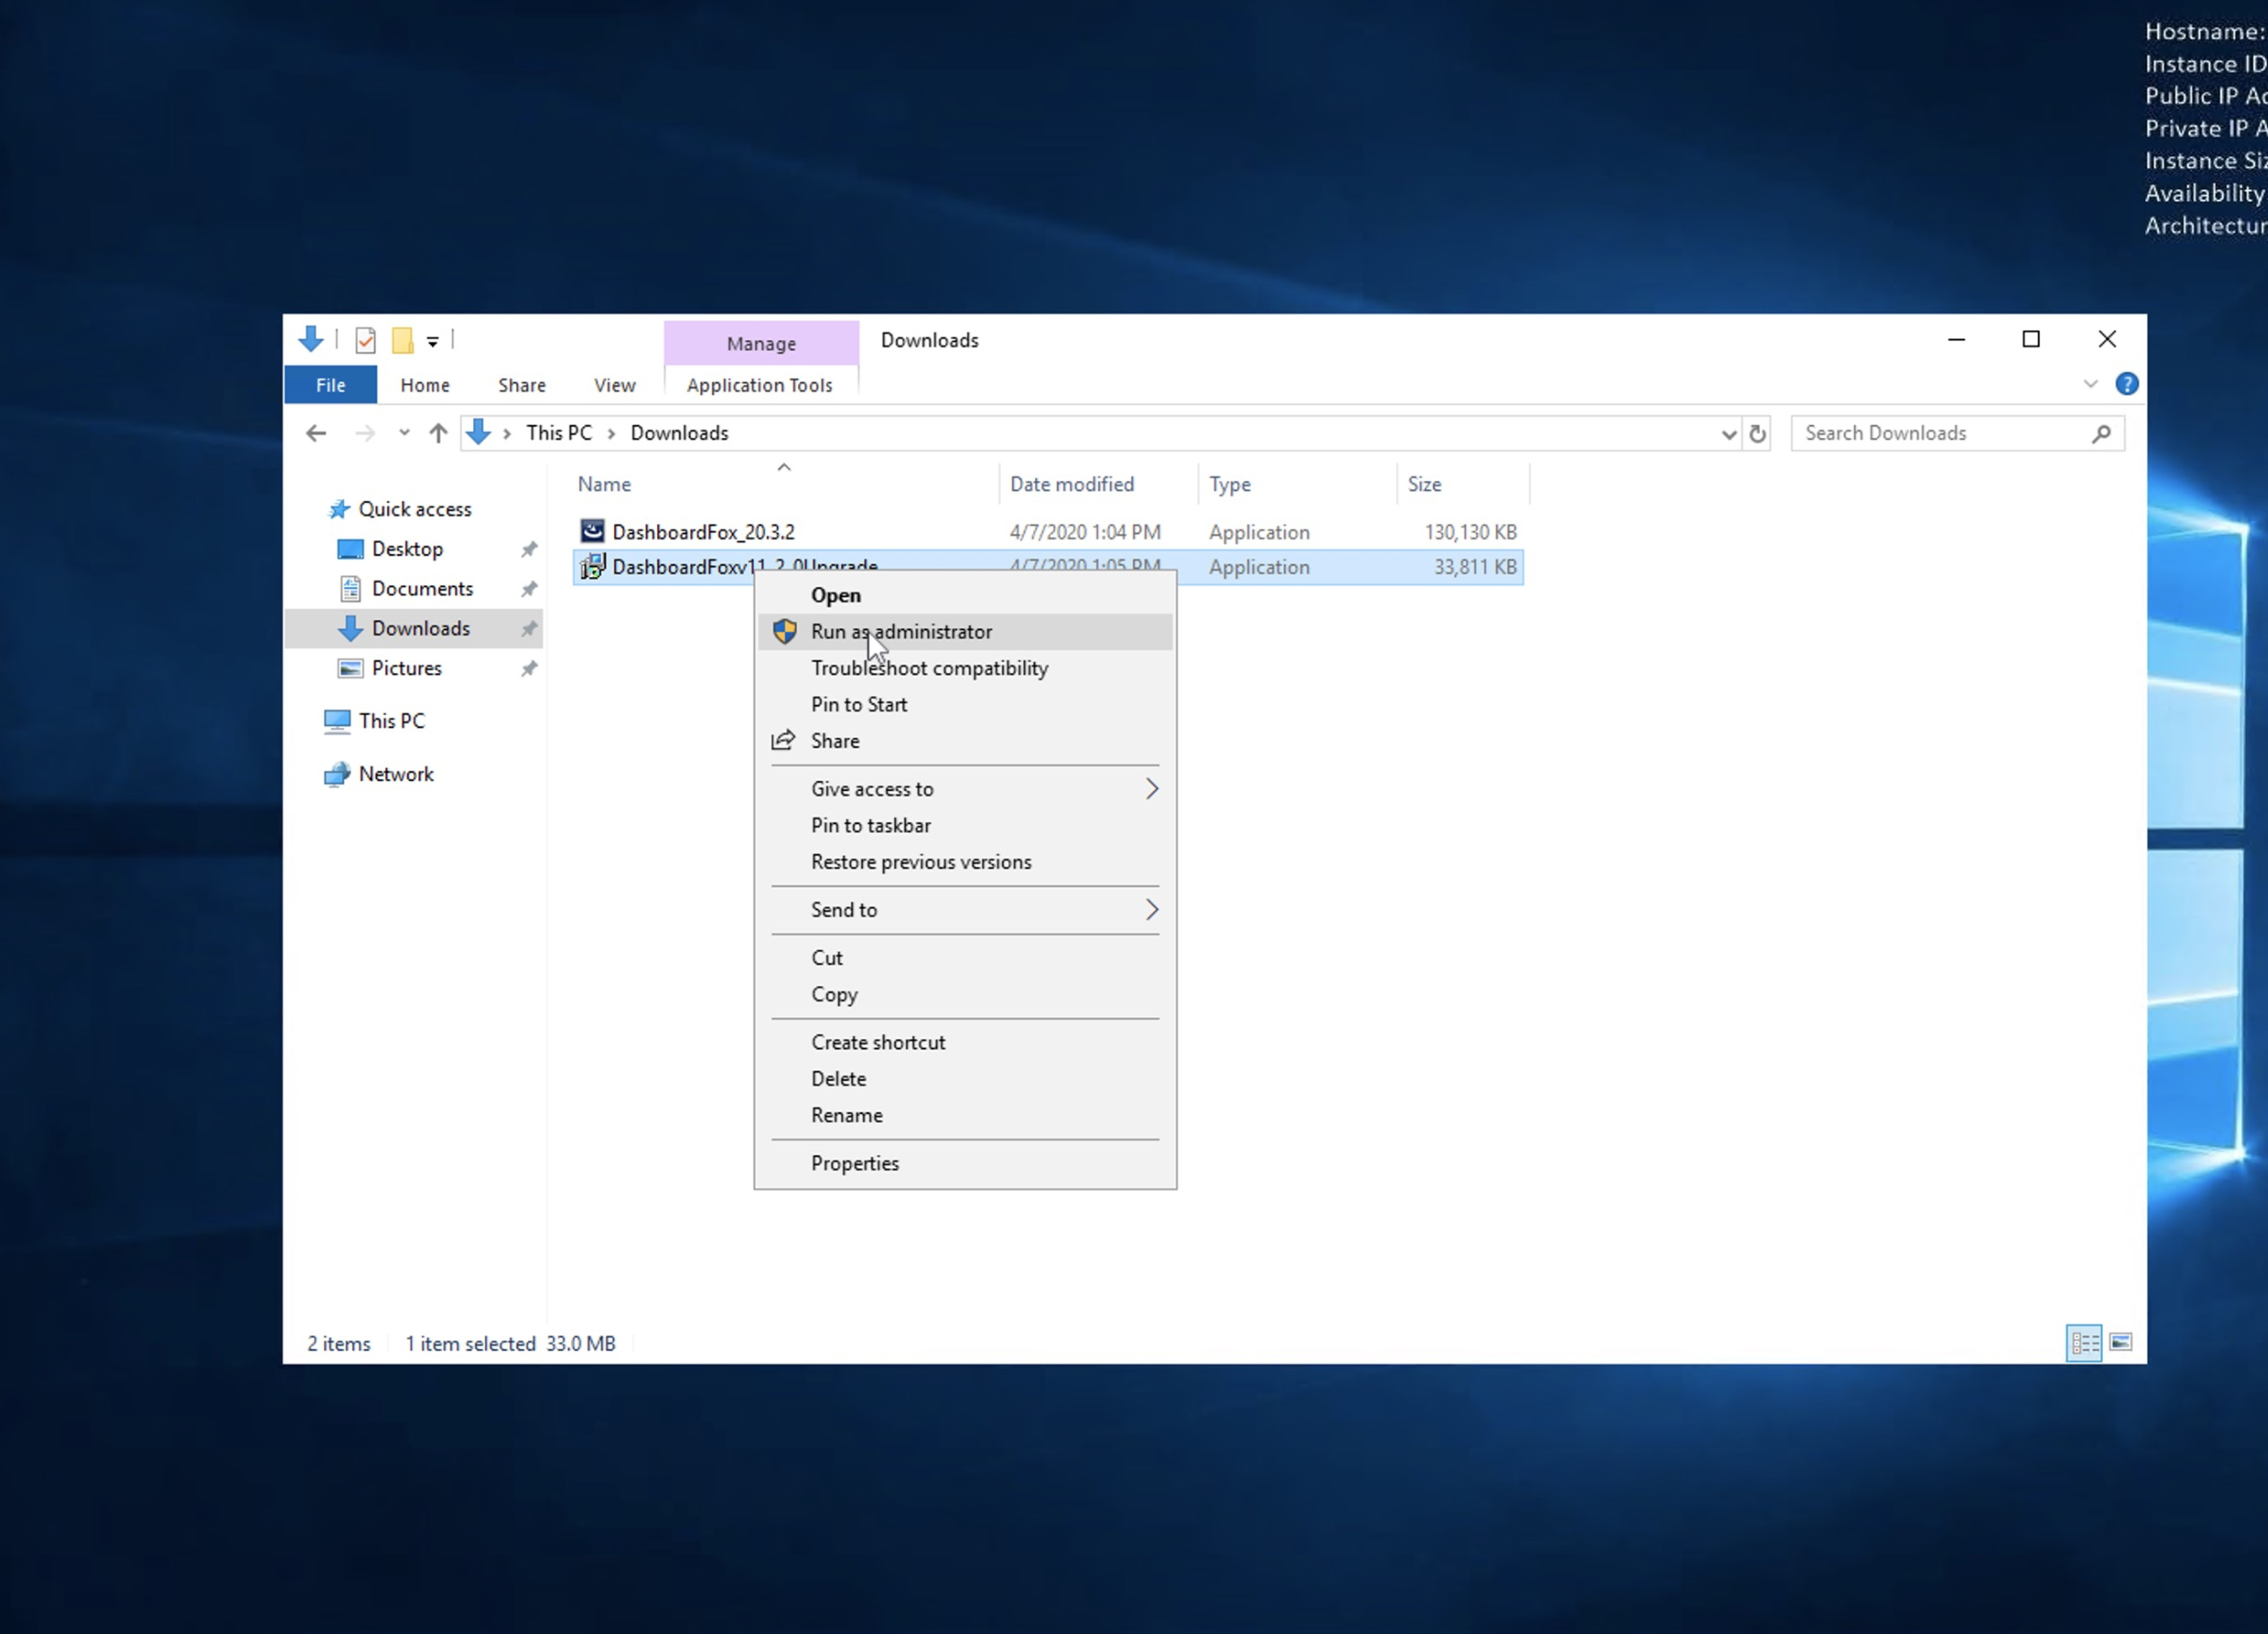
Return to your location where you previously downloaded the DashboardFox upgrade file..
To being the installation, right click on the installation file and select Run as administrator
If you get the Windows Defender screen, click More info and Run Anyway
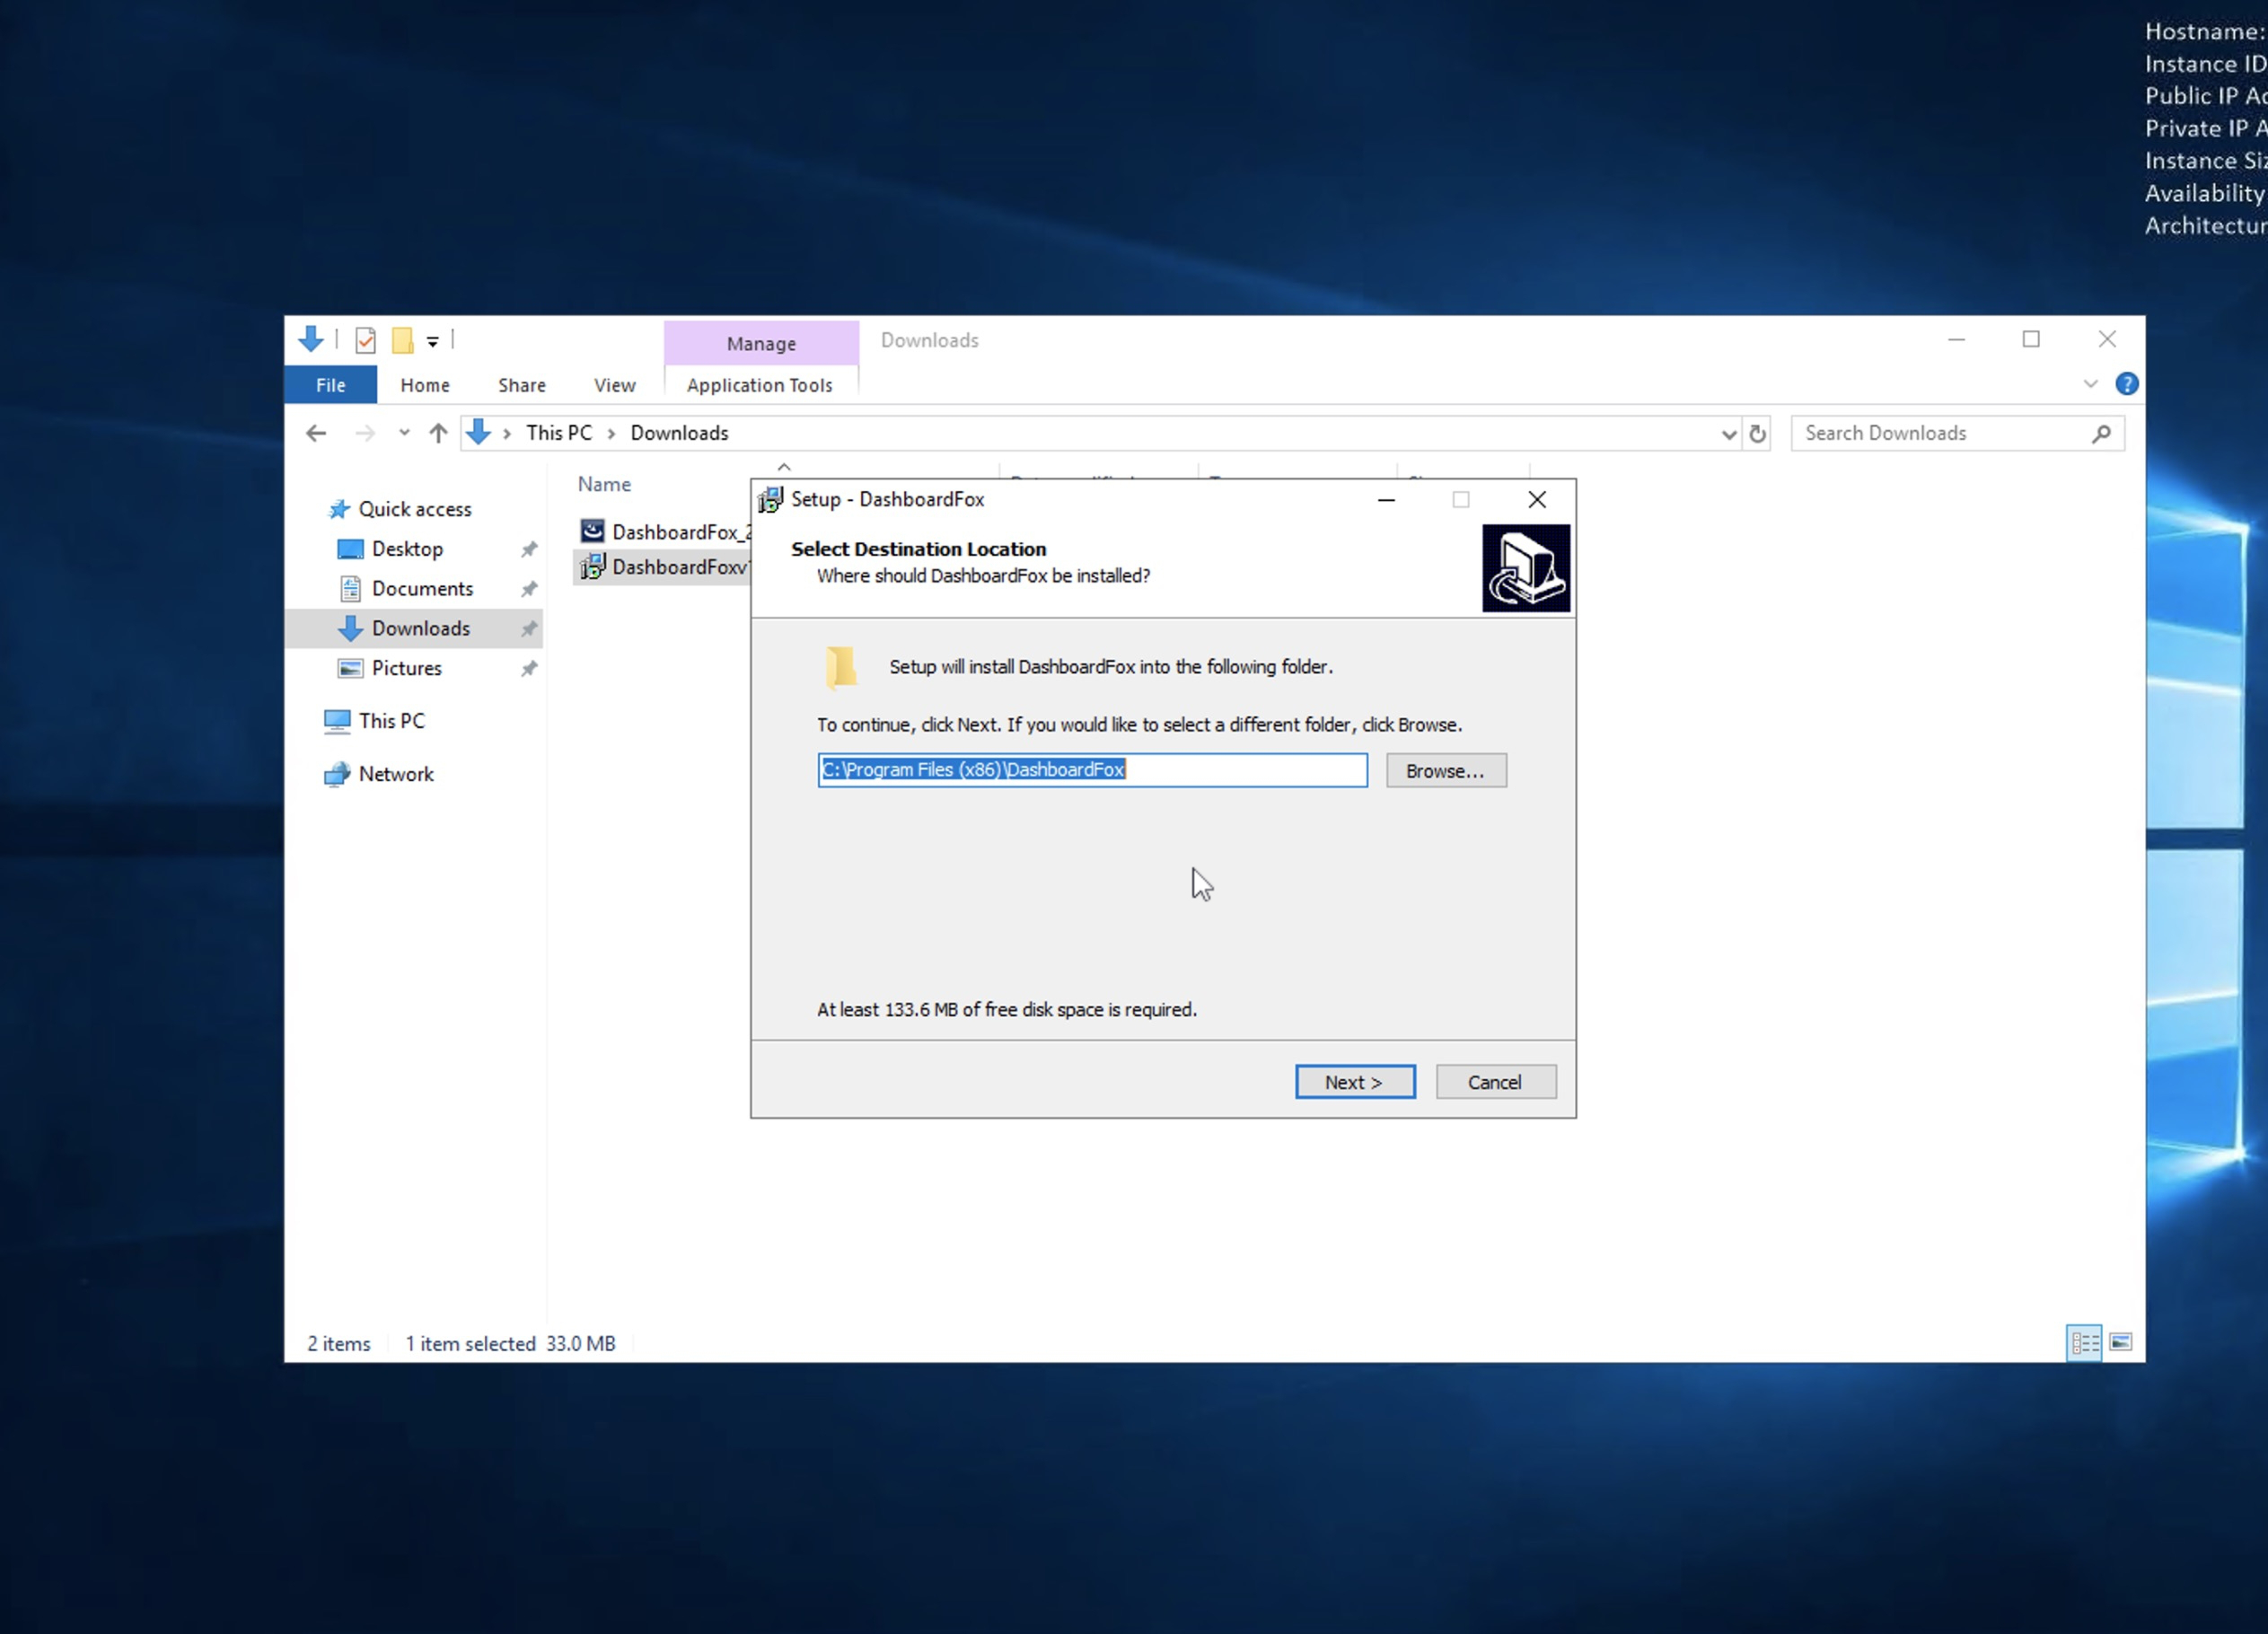
That will pop up this screen where your installation path should be pre-filled (even if you changed it during the install).
Click Next
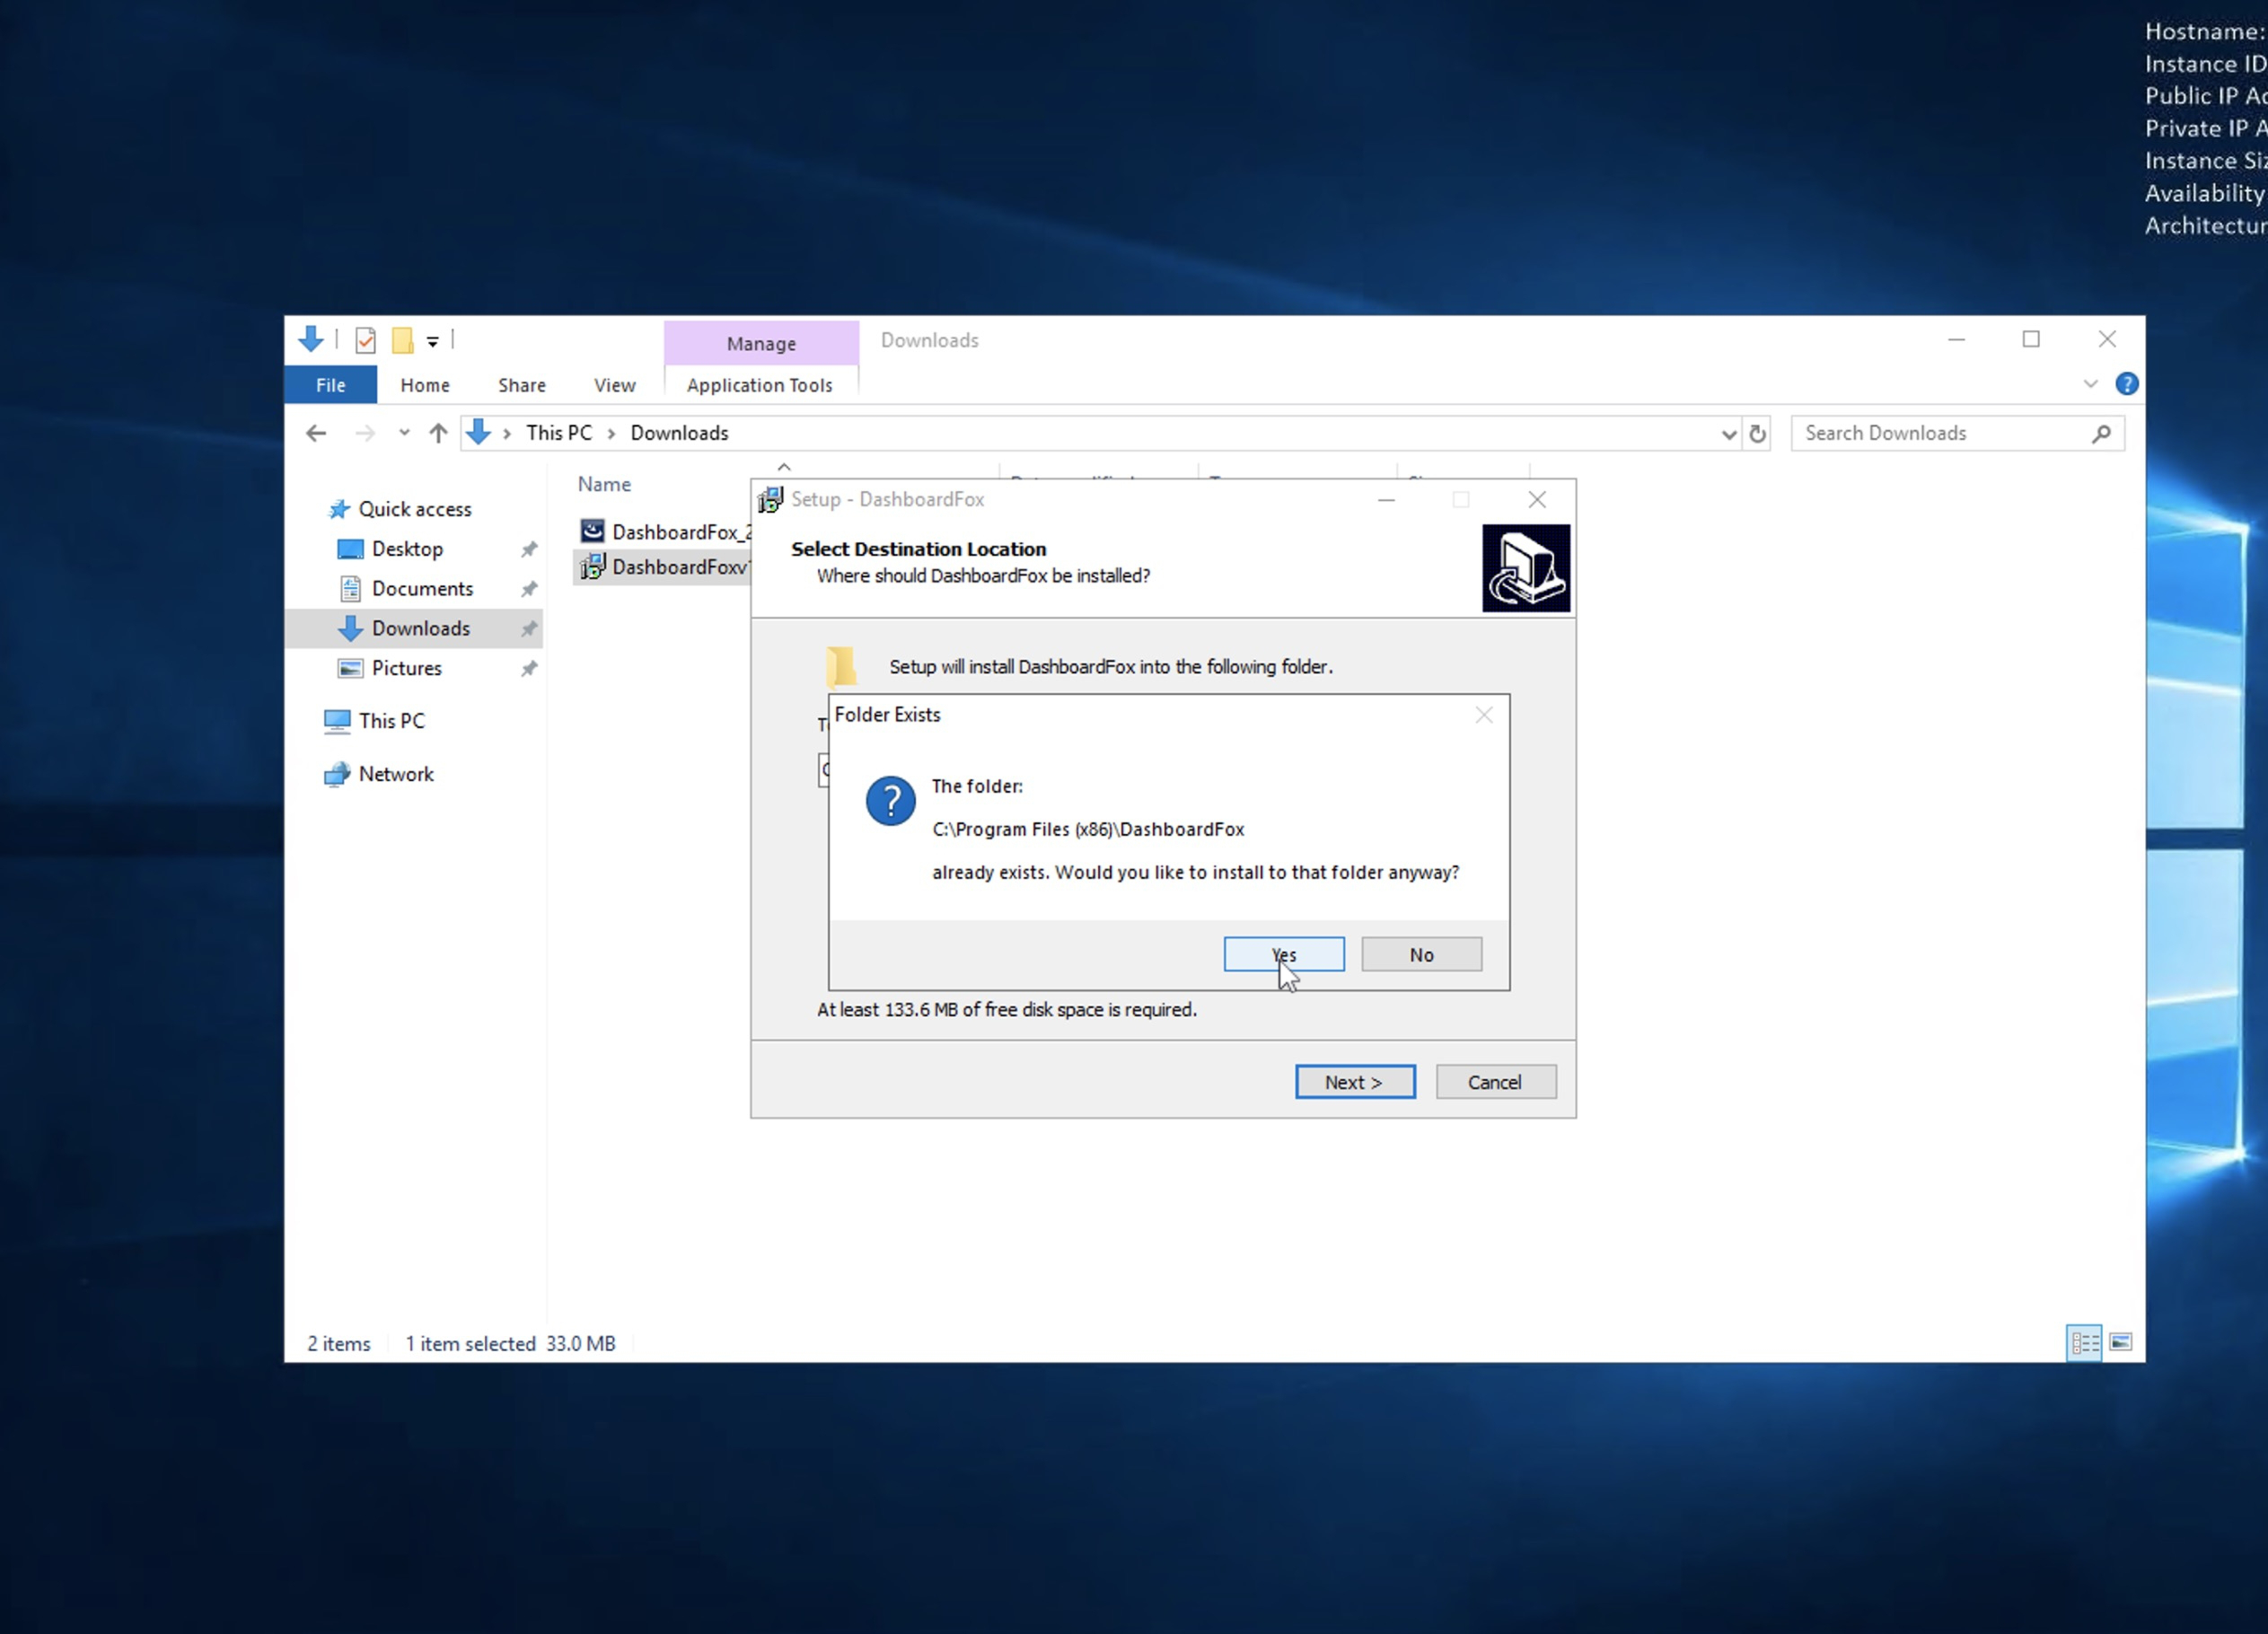
You'll get this prompt that seems a little scary, but just hit Yes. The goal is to update the existing installation with the new files, so we do want to install in the existing folder.
Click Yes
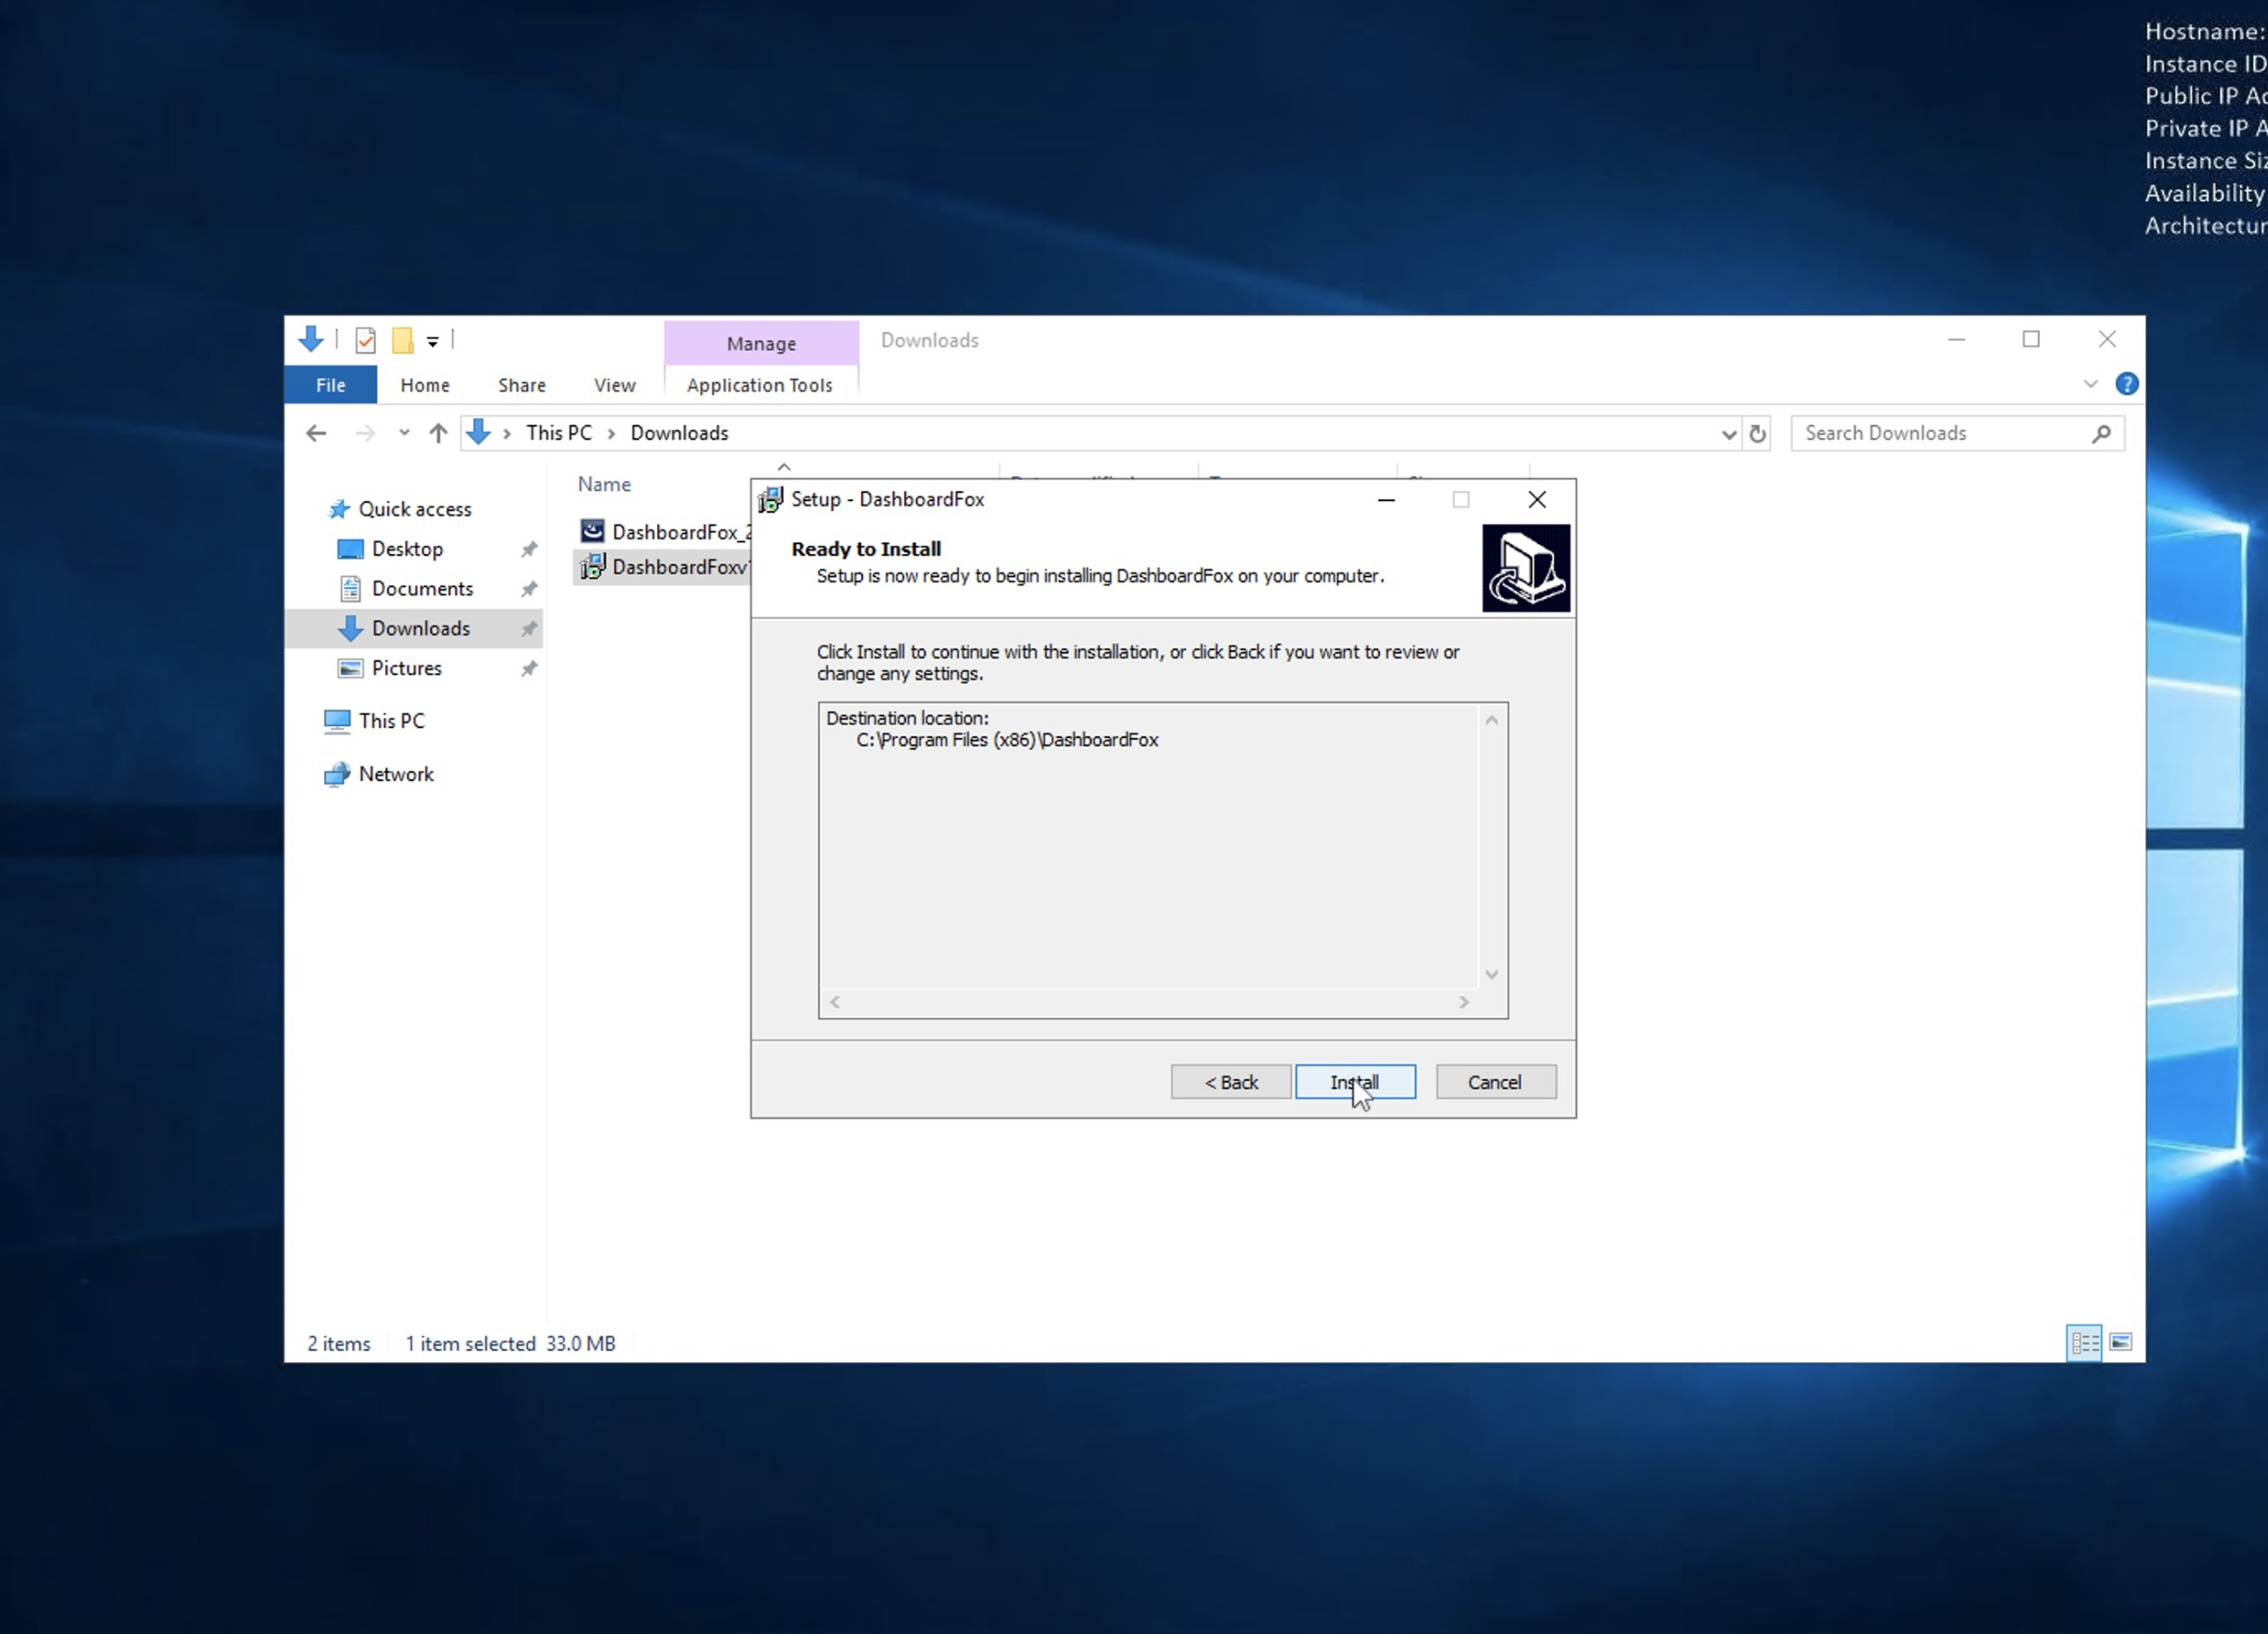
Click Install
The upgrade install will automatically stop the DashboardFox services and copy over the new files. After it's finish it will restart the DashboardFox services.
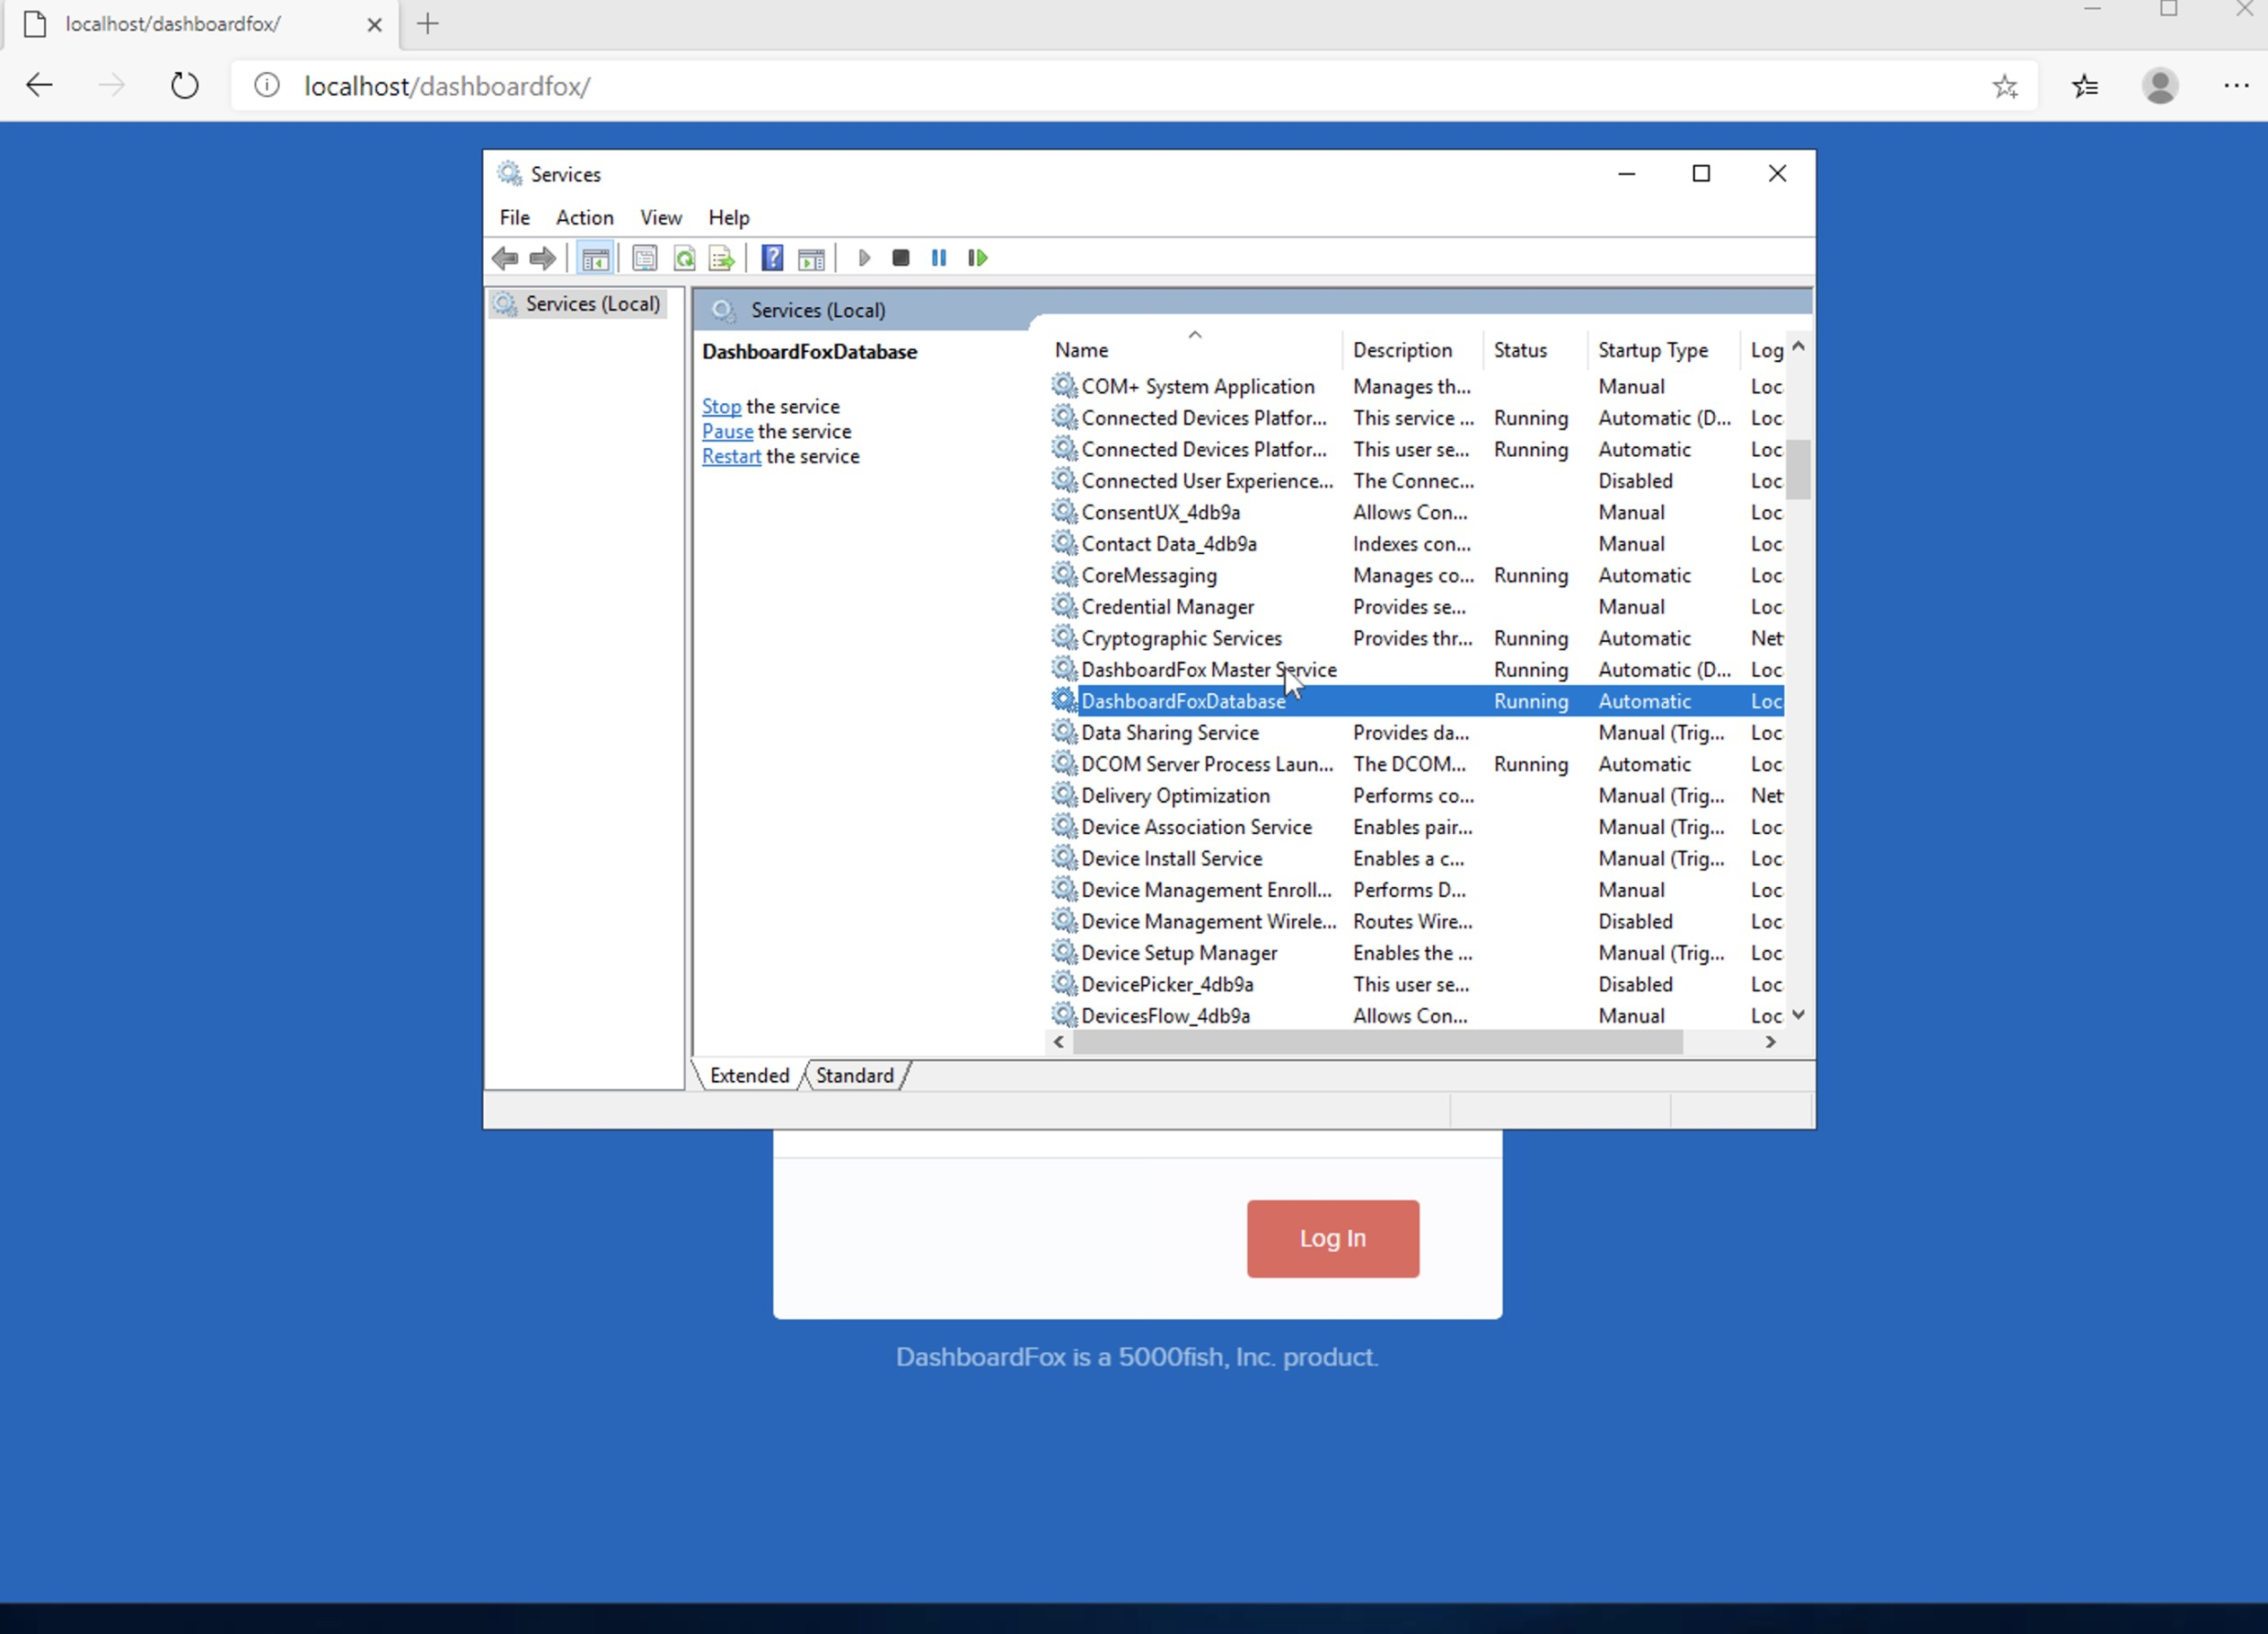
Sometimes on a Windows Desktop the upgrader cannot properly stop the services (typically this is desktop speed related). If you want to take an extra step of pre-caution, open your Services panel and stop the:
"DashboardFox Master" and "DashboardFox Database" services.
The upgrade is complete.
Proceed to log in again via http://yourservername/dashboardfox and explore the Demo Environment.
If you do have any issue logging in, go to the services panel on your DashboardFox server and ensure both the DashboardFoxDatabase and DashboardFox Master Service is running and start them if not.